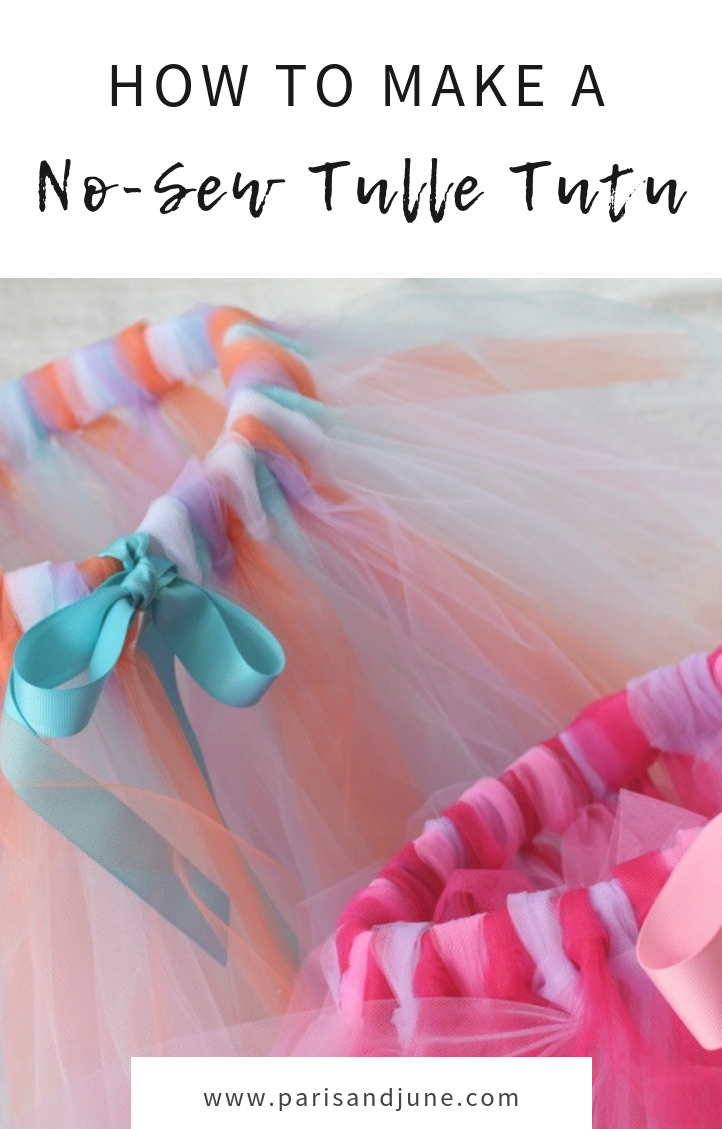
The best part about a no-sew tulle tutu is, sewing is not required. Hallelujah!
Maybe you’ve been thinking about making a tutu for your little girl but you’re not quite sure how to get started. In this tutorial, I am going to show you how easy it is to create a beautiful no-sew tulle tutu in 8 easy steps. And honestly, no two-year-old can deny the magic of tutus; just watch their eyes light up with glee as they see one.
In my lifetime, I’ve made approximately fifteen tutus. Mainly, for gifts, but I’ve also sold a few. It started when my eldest niece turned one. I wanted to give her a special gift. Something I made with my own hands. In my opinion, a handmade gift had more significance. On the upside, it would provide her with many years of play, and dress-up time. Plus, the cost per wear would be pennies by the time she grew out of it. It made perfect sense.
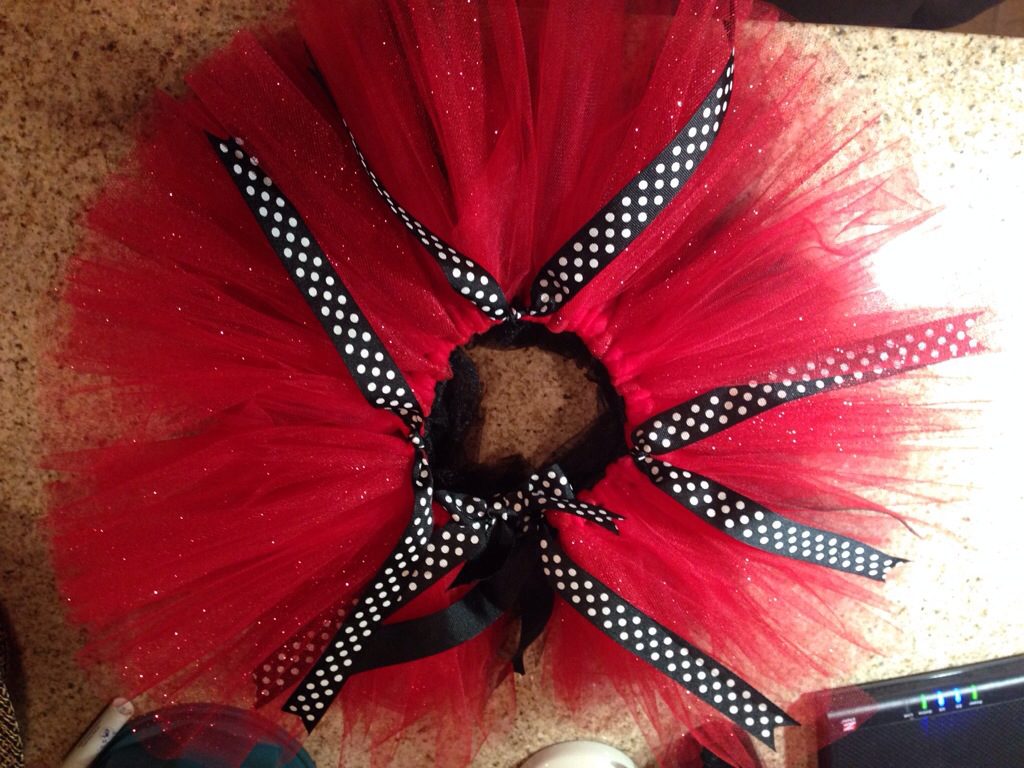
Although my eldest niece, Reese, is probably too grown to play with her tutu now, I know she had many years of fun in that fluffy ball of tulle. Sadly, I don’t have pictures of my very first tutu, but the smile on my niece’s face when Aunt Abril gave her a tutu was the best payment I could have ever gotten. I, however, have photos of the ladybug tutu my made for my younger niece, Ella.
SUPPLIES
First let me say that I love crafting and I am obsessed with these two stores: Michael’s and Fabric.com. These two stores always have fantastic crafting materials. If you like to save some money, don’t forget to grab Michael’s coupons.
Fabric.com always has a great selection of fabrics, and for this particular DIY, they had tulle. I was already buying fabric for a quilt, so I just added the tulle to my cart. The best part is they have free shipping after you have $49 worth of stuff in your cart. For those of you that love Amazon, I’ve linked the products I used below. Honestly, you can’t go wrong with these three places.
Tulle Tip: go for the tulle that is already cut. Michael’s has rolled tulle
Body tape measure or pattern cutting board either one will work
Fabric pencil in white or a color that stand out.
Patience is required for this project. It will take you approximately 3-5 hrs, depending on how fast you get the strands on the ribbon.
STEPS
- Decide on the color for the tutu. I base this on the little girl’s personality. Ella’s tutu was ladybug themed, so the colors were red and black with polka dotted ribbon as an accent.
- Measurements. The size depends on the below.
- Age
- Height
- Waist size
- The size chart I created below should help you determine the waist size and length of the tutu.
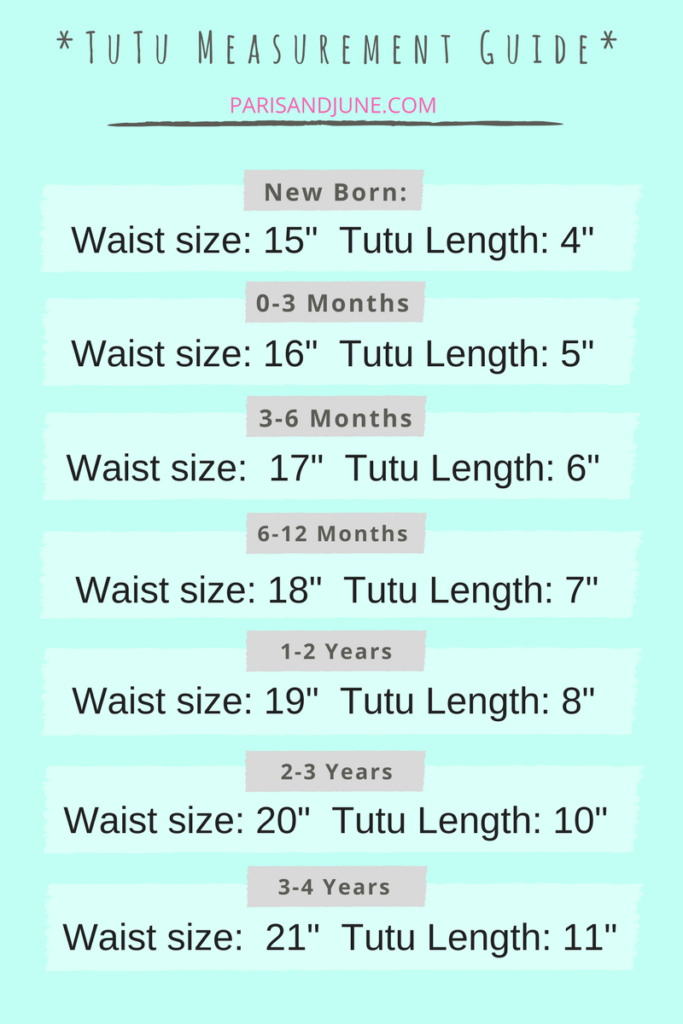
- Measure the ribbon for what will be the waist. My niece was turning one so that would be approximately eighteen inches around the waist.
- Three-part measurement: The end goal is fifty-four inches of ribbon length. Start with measuring eighteen inches from the end of the ribbon. Mark with a pencil at eighteen inches. Make a small knot at the marking.
- Measure an additional eighteen inches, from the first pencil mark (now a knot), and mark it with the pencil once more. Tie another knot.
- From the last knot, measured an additional sixteen inches. Cut the ribbon at the final mark. The space between the two knots is for the waist. The tulle will go in between the two knots. The two ends of the ribbon will be for tying a bow on the back of the tutu.
- A lot of people make their tutus with an elastic waistband; I don’t. I use ribbon so as the child grows they can still tie the tutu around their waist, ensuring many years of play time.
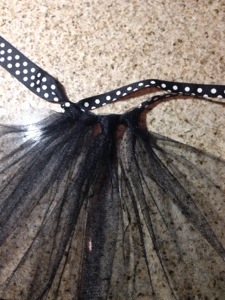
- Once I made the knots on each end, I made a parallel cut in the middle of the ribbon (from knot to knot). Adding a middle cut will allow you to create a two-layer tutu, which looks fuller.
- Find a mold or object you can wrap the tulle around for the perfect length.
I found a recipe book in my kitchen that was 7″ wide. It was perfect for my mold. I wrapped the tulle around as many time as I could and estimated when I could cut without having trouble. For me, it was about 15-20 times. I made my cut, and that gave me about 20 strands to work with. When you run out of strands, repeat step 4. - Add the tulle strands to the ribbon. The most fun and time-consuming activity begin. Follow the steps below.
- Take a tulle strand, place your finger in the middle then fold in half. Like making a loop or a U shape.
- Place the U-shaped tulle behind/in front of the waist ribbon you previously prepared.
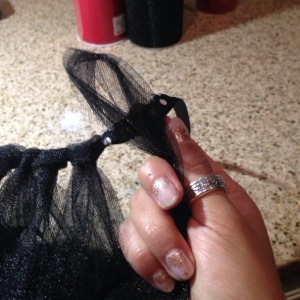
- Bring the tips of the strand over the ribbon and pass them through the U-shaped loop (or the other end). This will trap the waist ribbon in the middle.
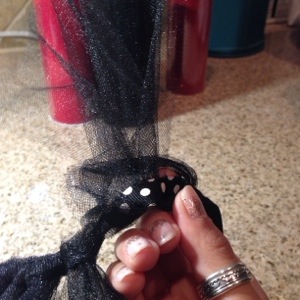
- Yay! You have your first strand on the tutu. (Now do that again like a million times….sigh)
- Do step number five, what feels like a million times. Remember, you have two strands of ribbon to fill up. You can do it! (Picture me cheering in the background. HA!) You will automatically notice when the strand is full enough.
- Connect the two strands with tulle. Once both strands are full of tulle, you will see that both strands are not connected. You will take a few more strands of tulle and repeat step 5. This time going around both strands. You will want to spread the strands evenly, around six places in the tutu, so it holds together. Once this step is complete, you are done!
- Make adjustments as needed. Maybe one strand is too long, grab those scissors and “cut it” (like the song). LOL! “You need to cut ittt….cut it cut it.” What’s funny is I don’t get why that song even exists. What’s the point? Oh, that’s right to make people wonder in utter confusion why the guy constantly repeats “cut it.” In this DIY case, if you’re tutu is too long you need to “cut it.” Ok, all kidding aside. This is the last step. Congratulations! You finally finished.
Once finished, stand back and admire your cute creation!

Look at this cute girl. Her tutu is fabulous!
Happy Birthday my sweet girl, Ella!

Share this post with a friend who has a baby too and make a tutu together.
Thank you so much for reading!
With love and gratitude,




Leave a Reply