Oh, board and batten! It gets my heart going, probably just as much as shiplap. I had to try this DIY and guess what? You can have Board and Batten in 12 easy steps too!
Nowadays, new homes lack in the character department. New houses, mainly in master-planned communities, although beautiful, are missing the “older home charm”. You know what I am talking about; the beautiful woodwork, archways, shiplap, and tall oak trees. The new houses with the beautiful charm are custom built and my pocketbook can’t quite afford that yet, so we went the master-planned community route. The houses in master-planned communities do offer great perks like energy efficiency, convenient shopping, and a shorter commute, so I traded in charm for convenience.
Now Our second home is lovely, don’t get me wrong, but it needs a little charm and character. To start, we chose to add Board and Batten, otherwise known as wainscotting, in the hallway downstairs. Surprisingly, Board and Batten is so easy to install, you can do it in 12 steps.
My source for “Board and Batten” inspiration was Pinterest, of course. When it came time for installation, my husband did most of the work; I mostly painted and gave instructions.
The thought of hiring a carpenter crossed our minds, but we brushed it off thinking we were handy enough to try it ourselves. Cecil at one point said, “What’s the worse that can happen? We mess up the walls, and we have to pay someone to fix it? Ok.” Thank you for having so much confidence in us babe.
The week before project day we did some research and made an inventory list. Ha! Just like accountants. The following weekend, over breakfast and coffee, we made a supplies list and wrote how we want to approach the project.
TOOLS
- Miter Saw
- Tape measure
- Sander
- Wood glue
- Finishing nails
- Paintbrushes
- Paint roller
- Disposable paint tray
Our supplies list was not long since we had most of them. If you don’t own a miter saw, you can take advantage of the free cuts at your local Home Depot. (We got four free cuts).
SUPPLIES
- Pressure-treated Fill-strip lattice in white.
- Wood Siding Panel – We used the back because our wall texture is not smooth.
- Spackling Paste to cover up any holes.
- A sanding block to sand down any roughness on the lattice or wood siding.
- Paint & Primer to make it look beautiful
BOARD AND BATTEN IN 12 EASY STEP
Your approach list can be amended based on how you want to tackle the project. You may already have leftover wood from a previous project, or you may not need to install the wood siding.
- Pre Order supplies and tools needed via Homedepot, Amazon or Lowes (weekend before)
- Home Depot Trip for supplies (weekend of the project)
- Clean the area.
- Wipe clean any excess dust to start out with a clean slate
- Measure area and wood. Write it down!
- Measure the height based on the height you want the board and batten to be.
- We chose to go with cutting the wood at 48 inches high. That gave us a finishing height of about 55 inches tall, including the baseboard and top ledge.
- The lattice we separated
- Measure wood again
- Cut wood
- Apply glue to the back of the wood siding. Again, you may not need to install wood siding if your walls are smooth. We installed it to get a cleaner look.
- Nail the wood siding
- Nail the lattice in, approximately 12 inches apart.
- Spackle any small holes left from the finishing nails. You want to wait a few hours to let it dry.
- Sand any roughness down.
- Wipe down all the dust and clean your area.
- Paint that beautiful board and batten.
After painting, all you have to do is wait for it to dry, then you are done! Yay.
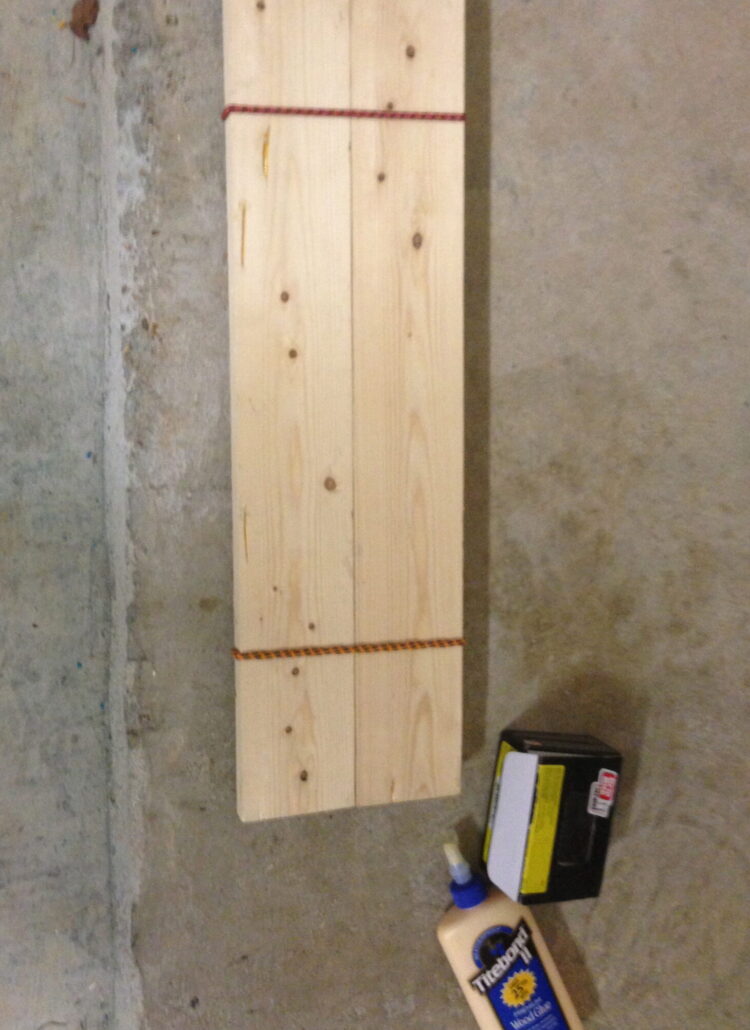
PROGRESS PHOTOS
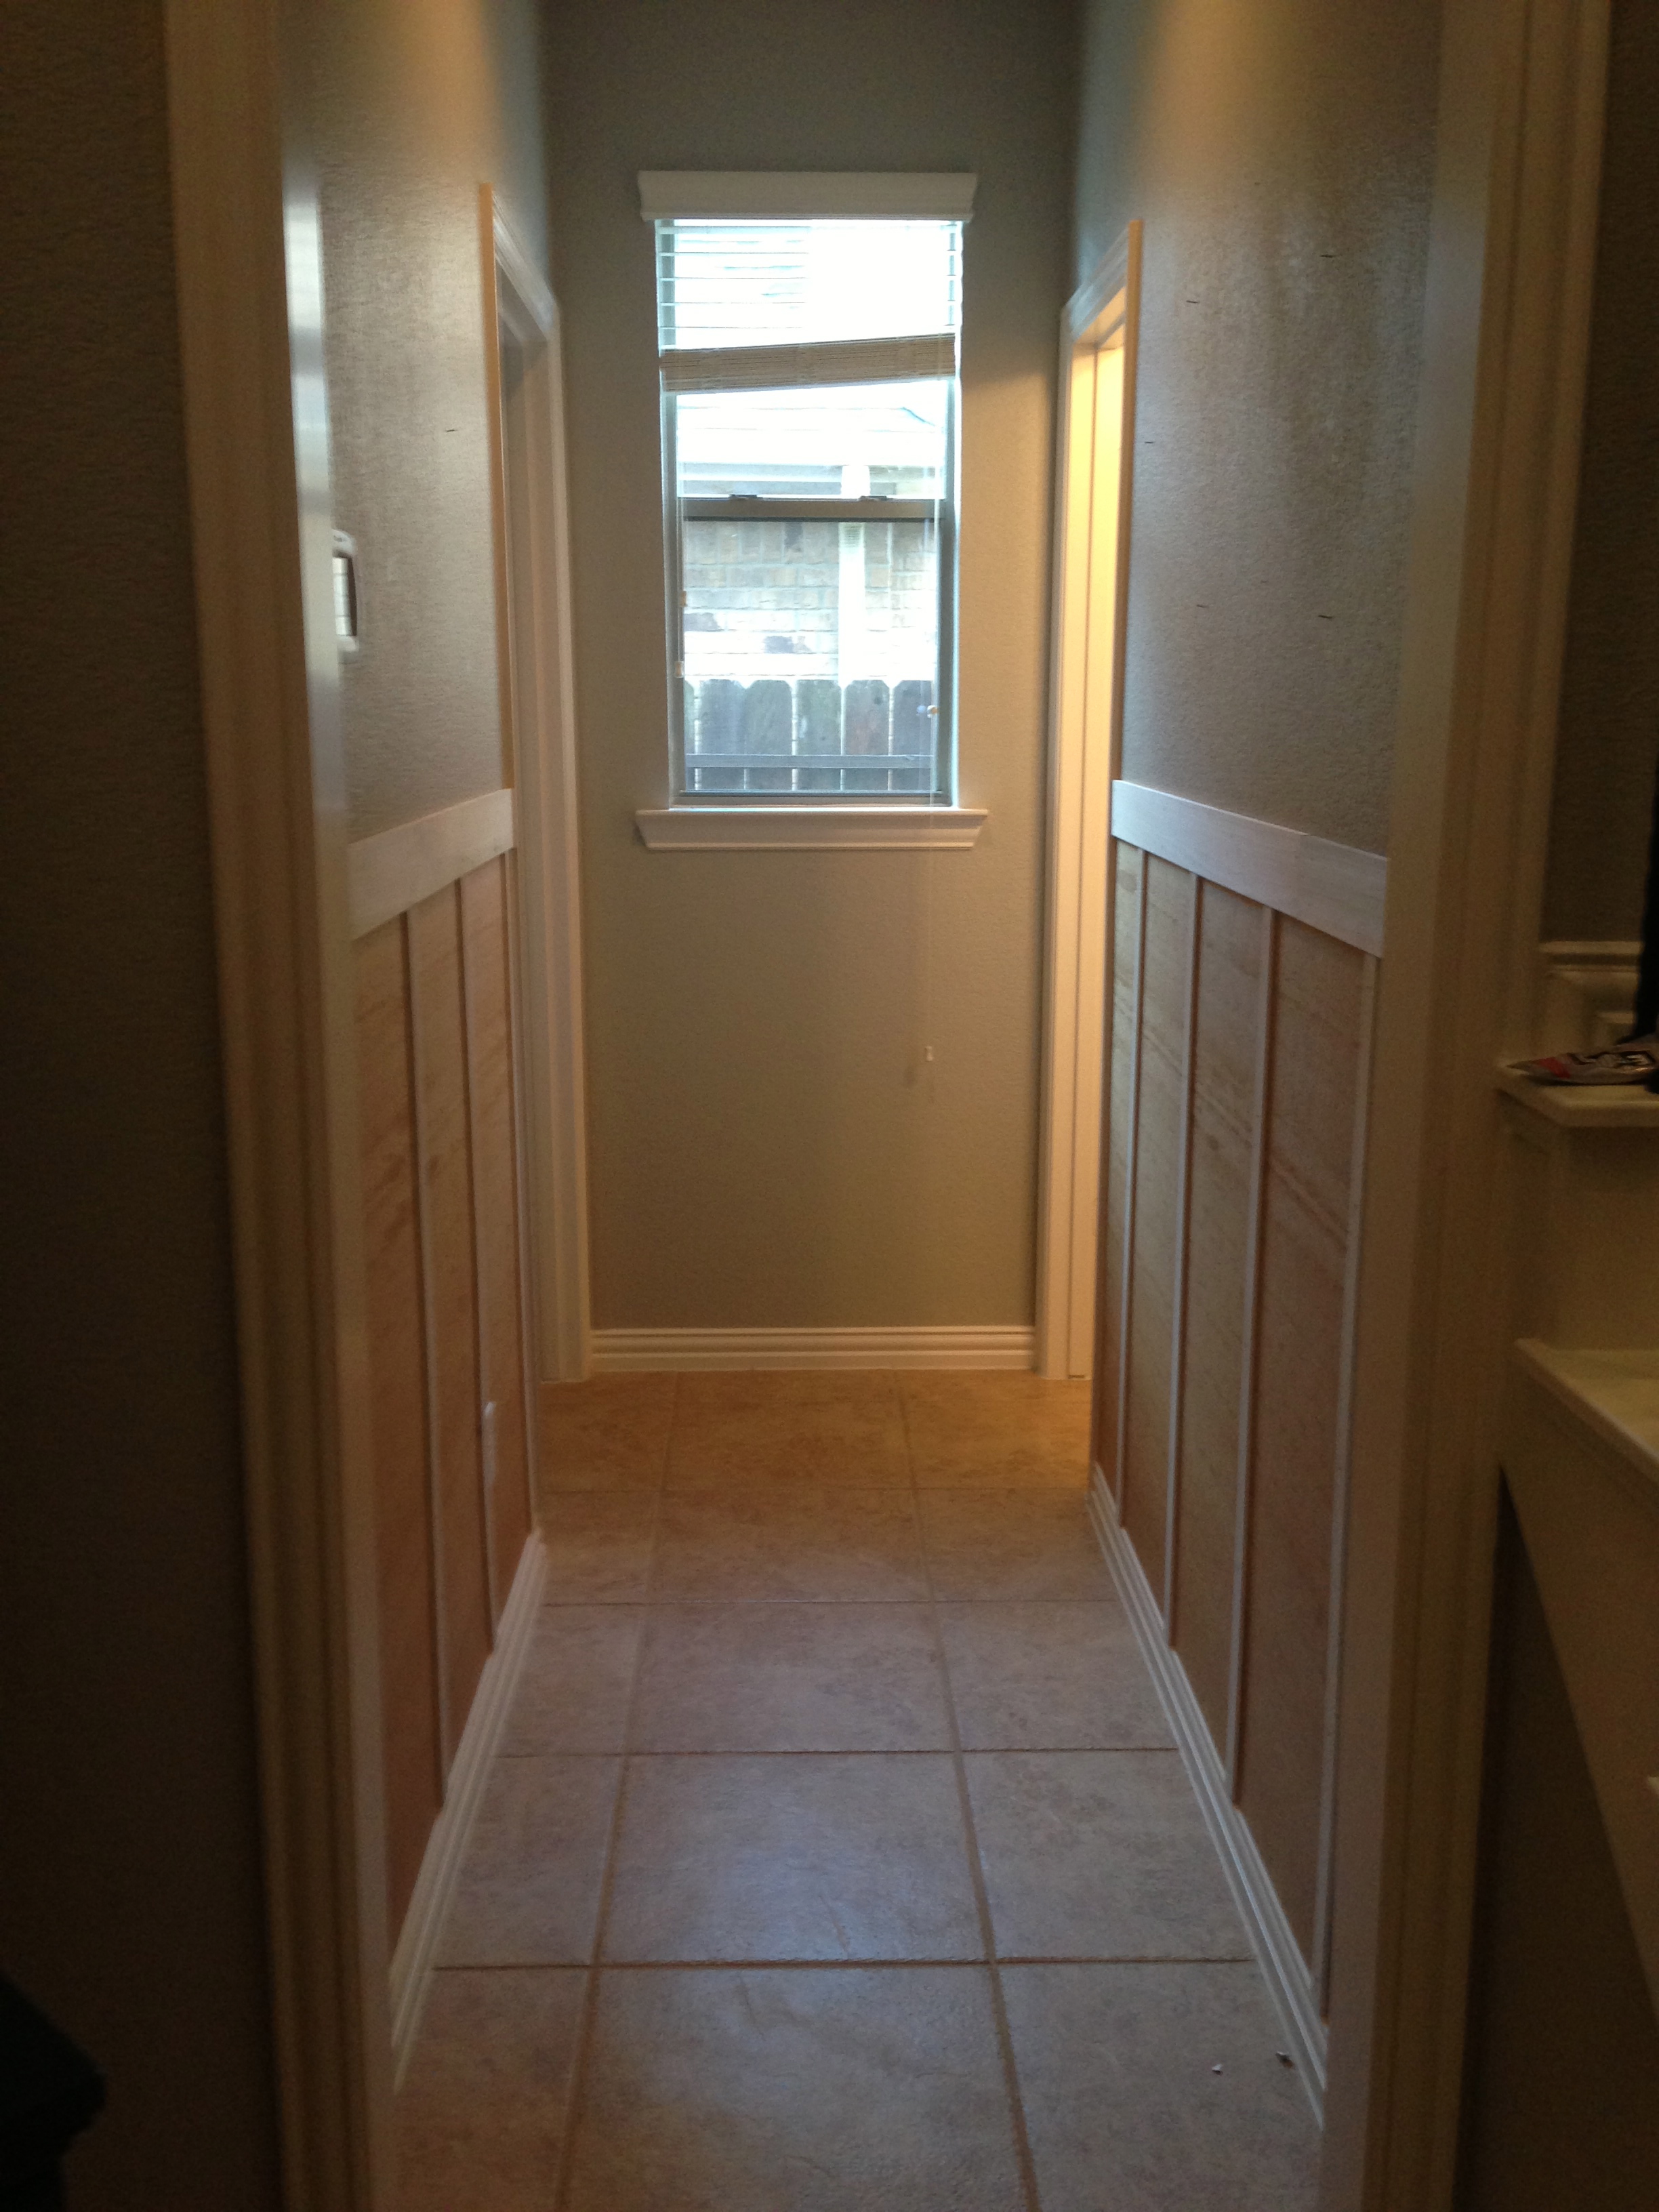
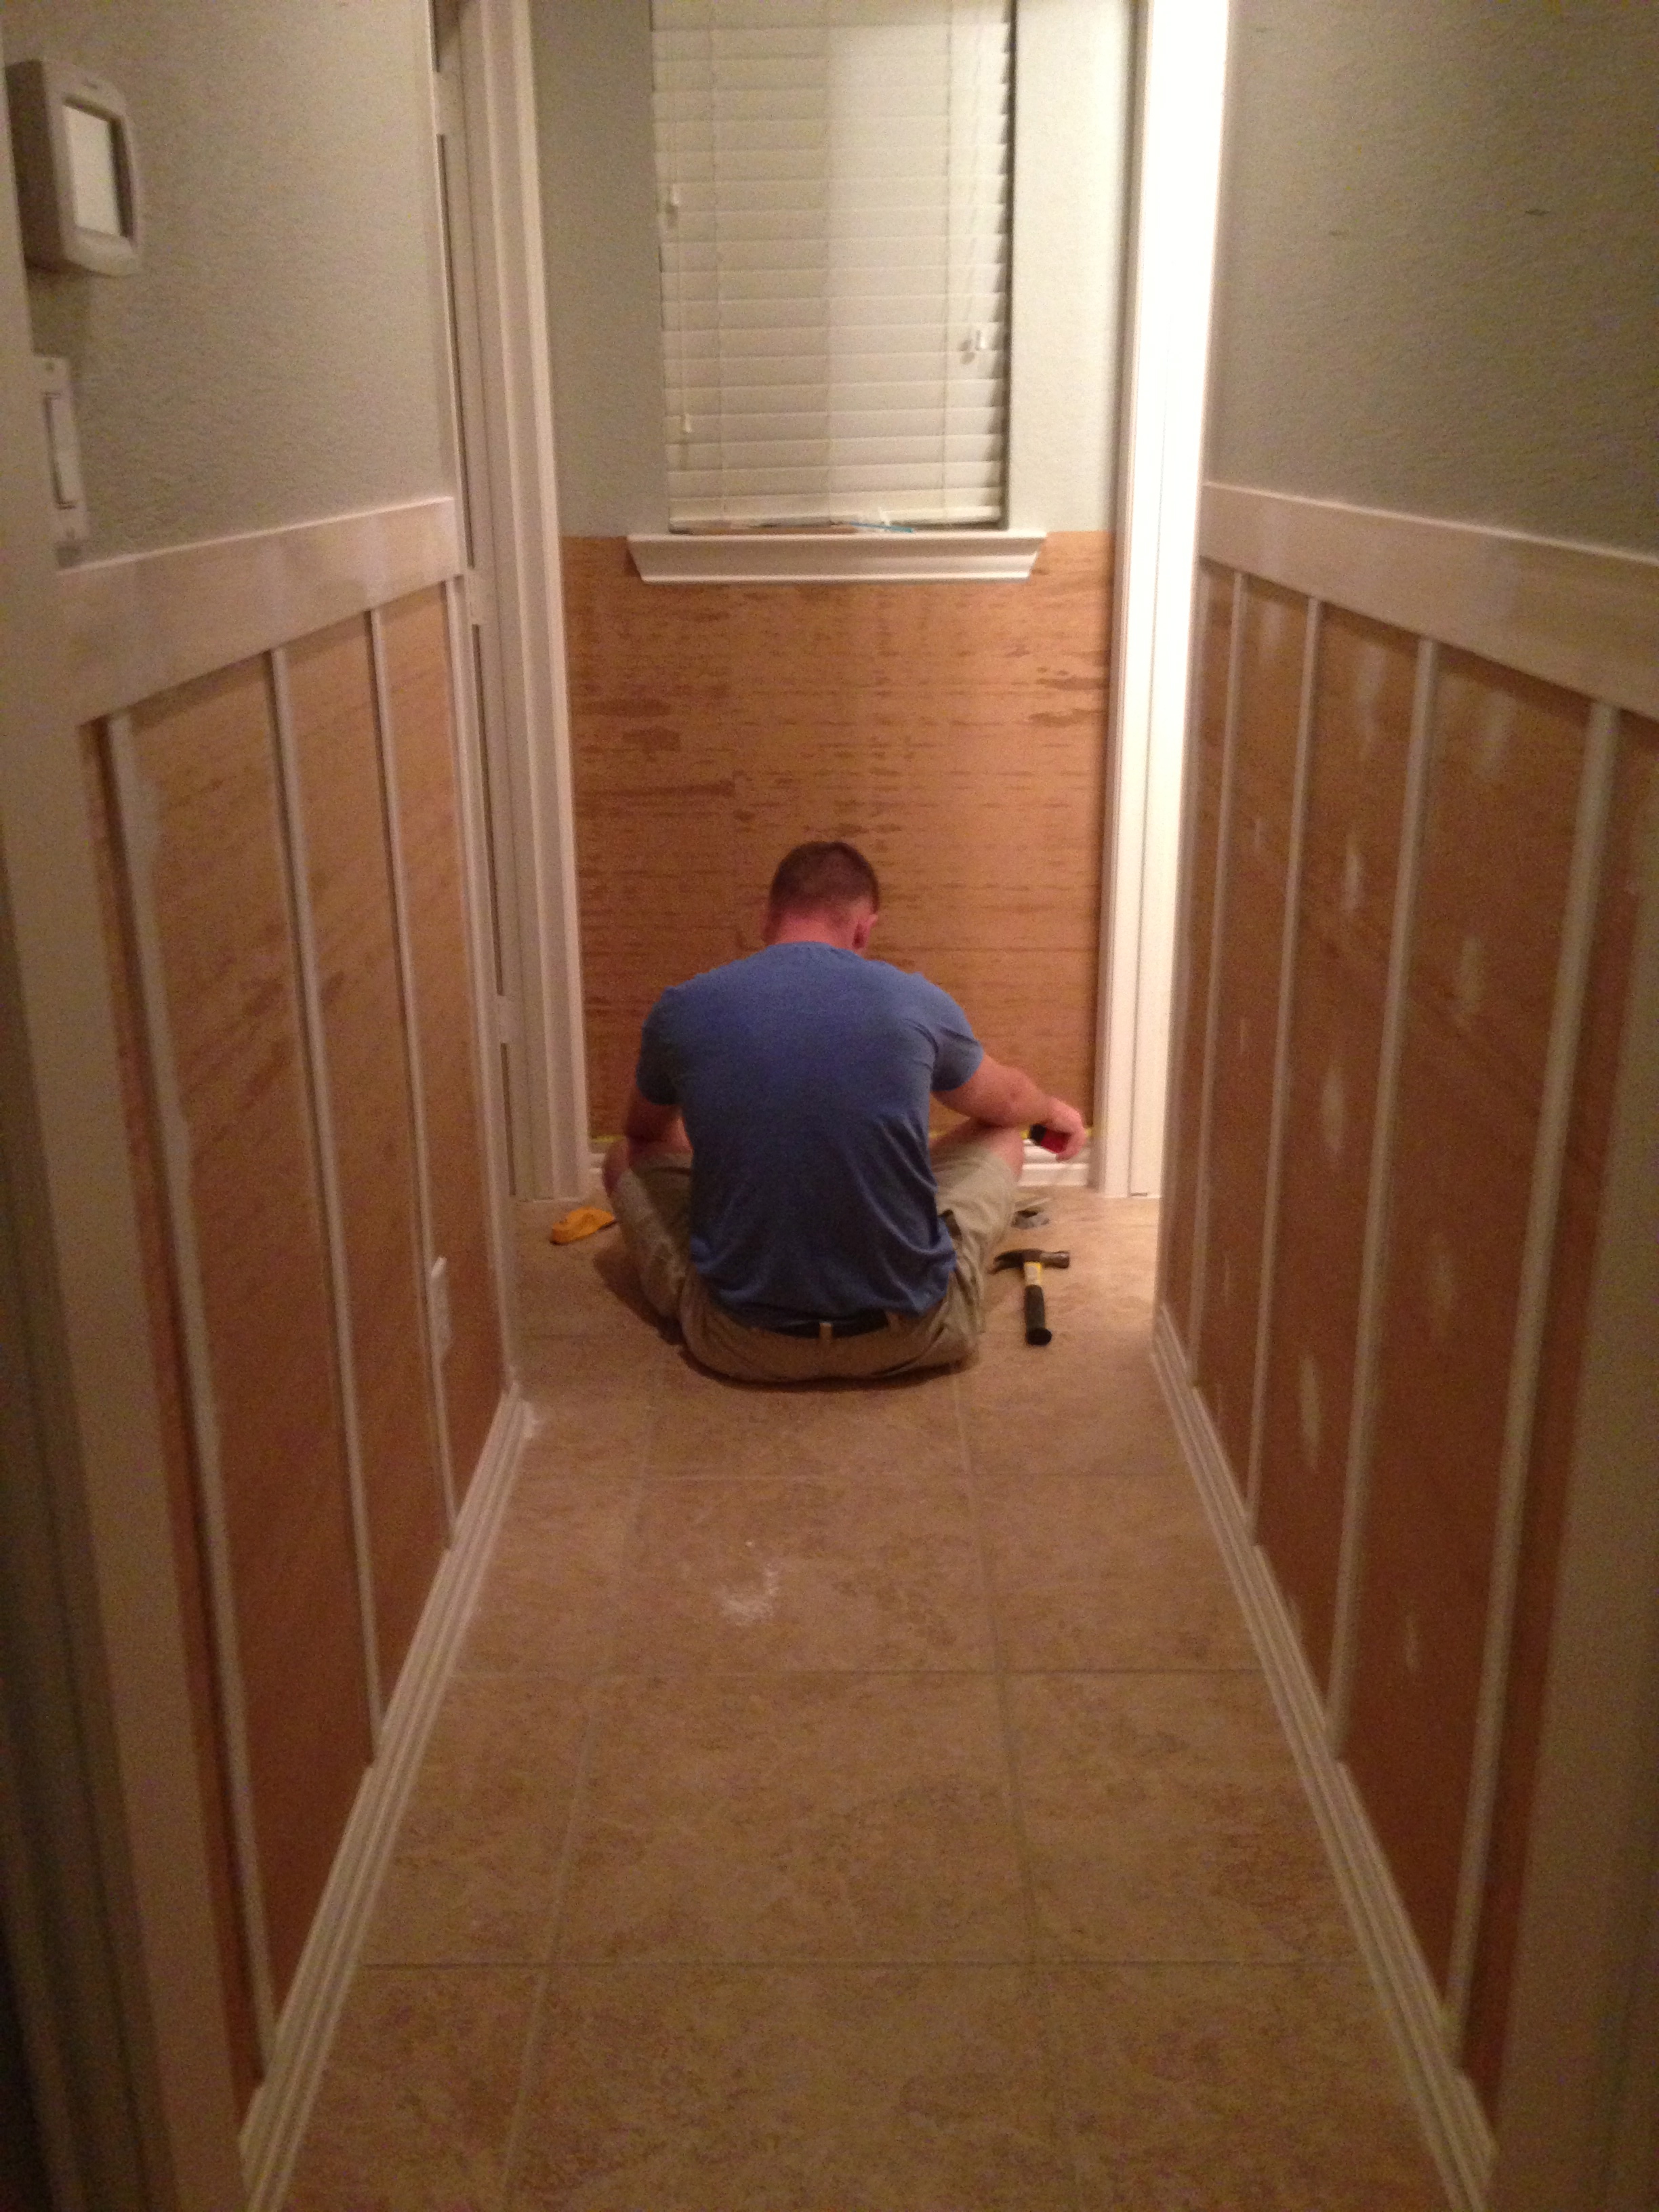
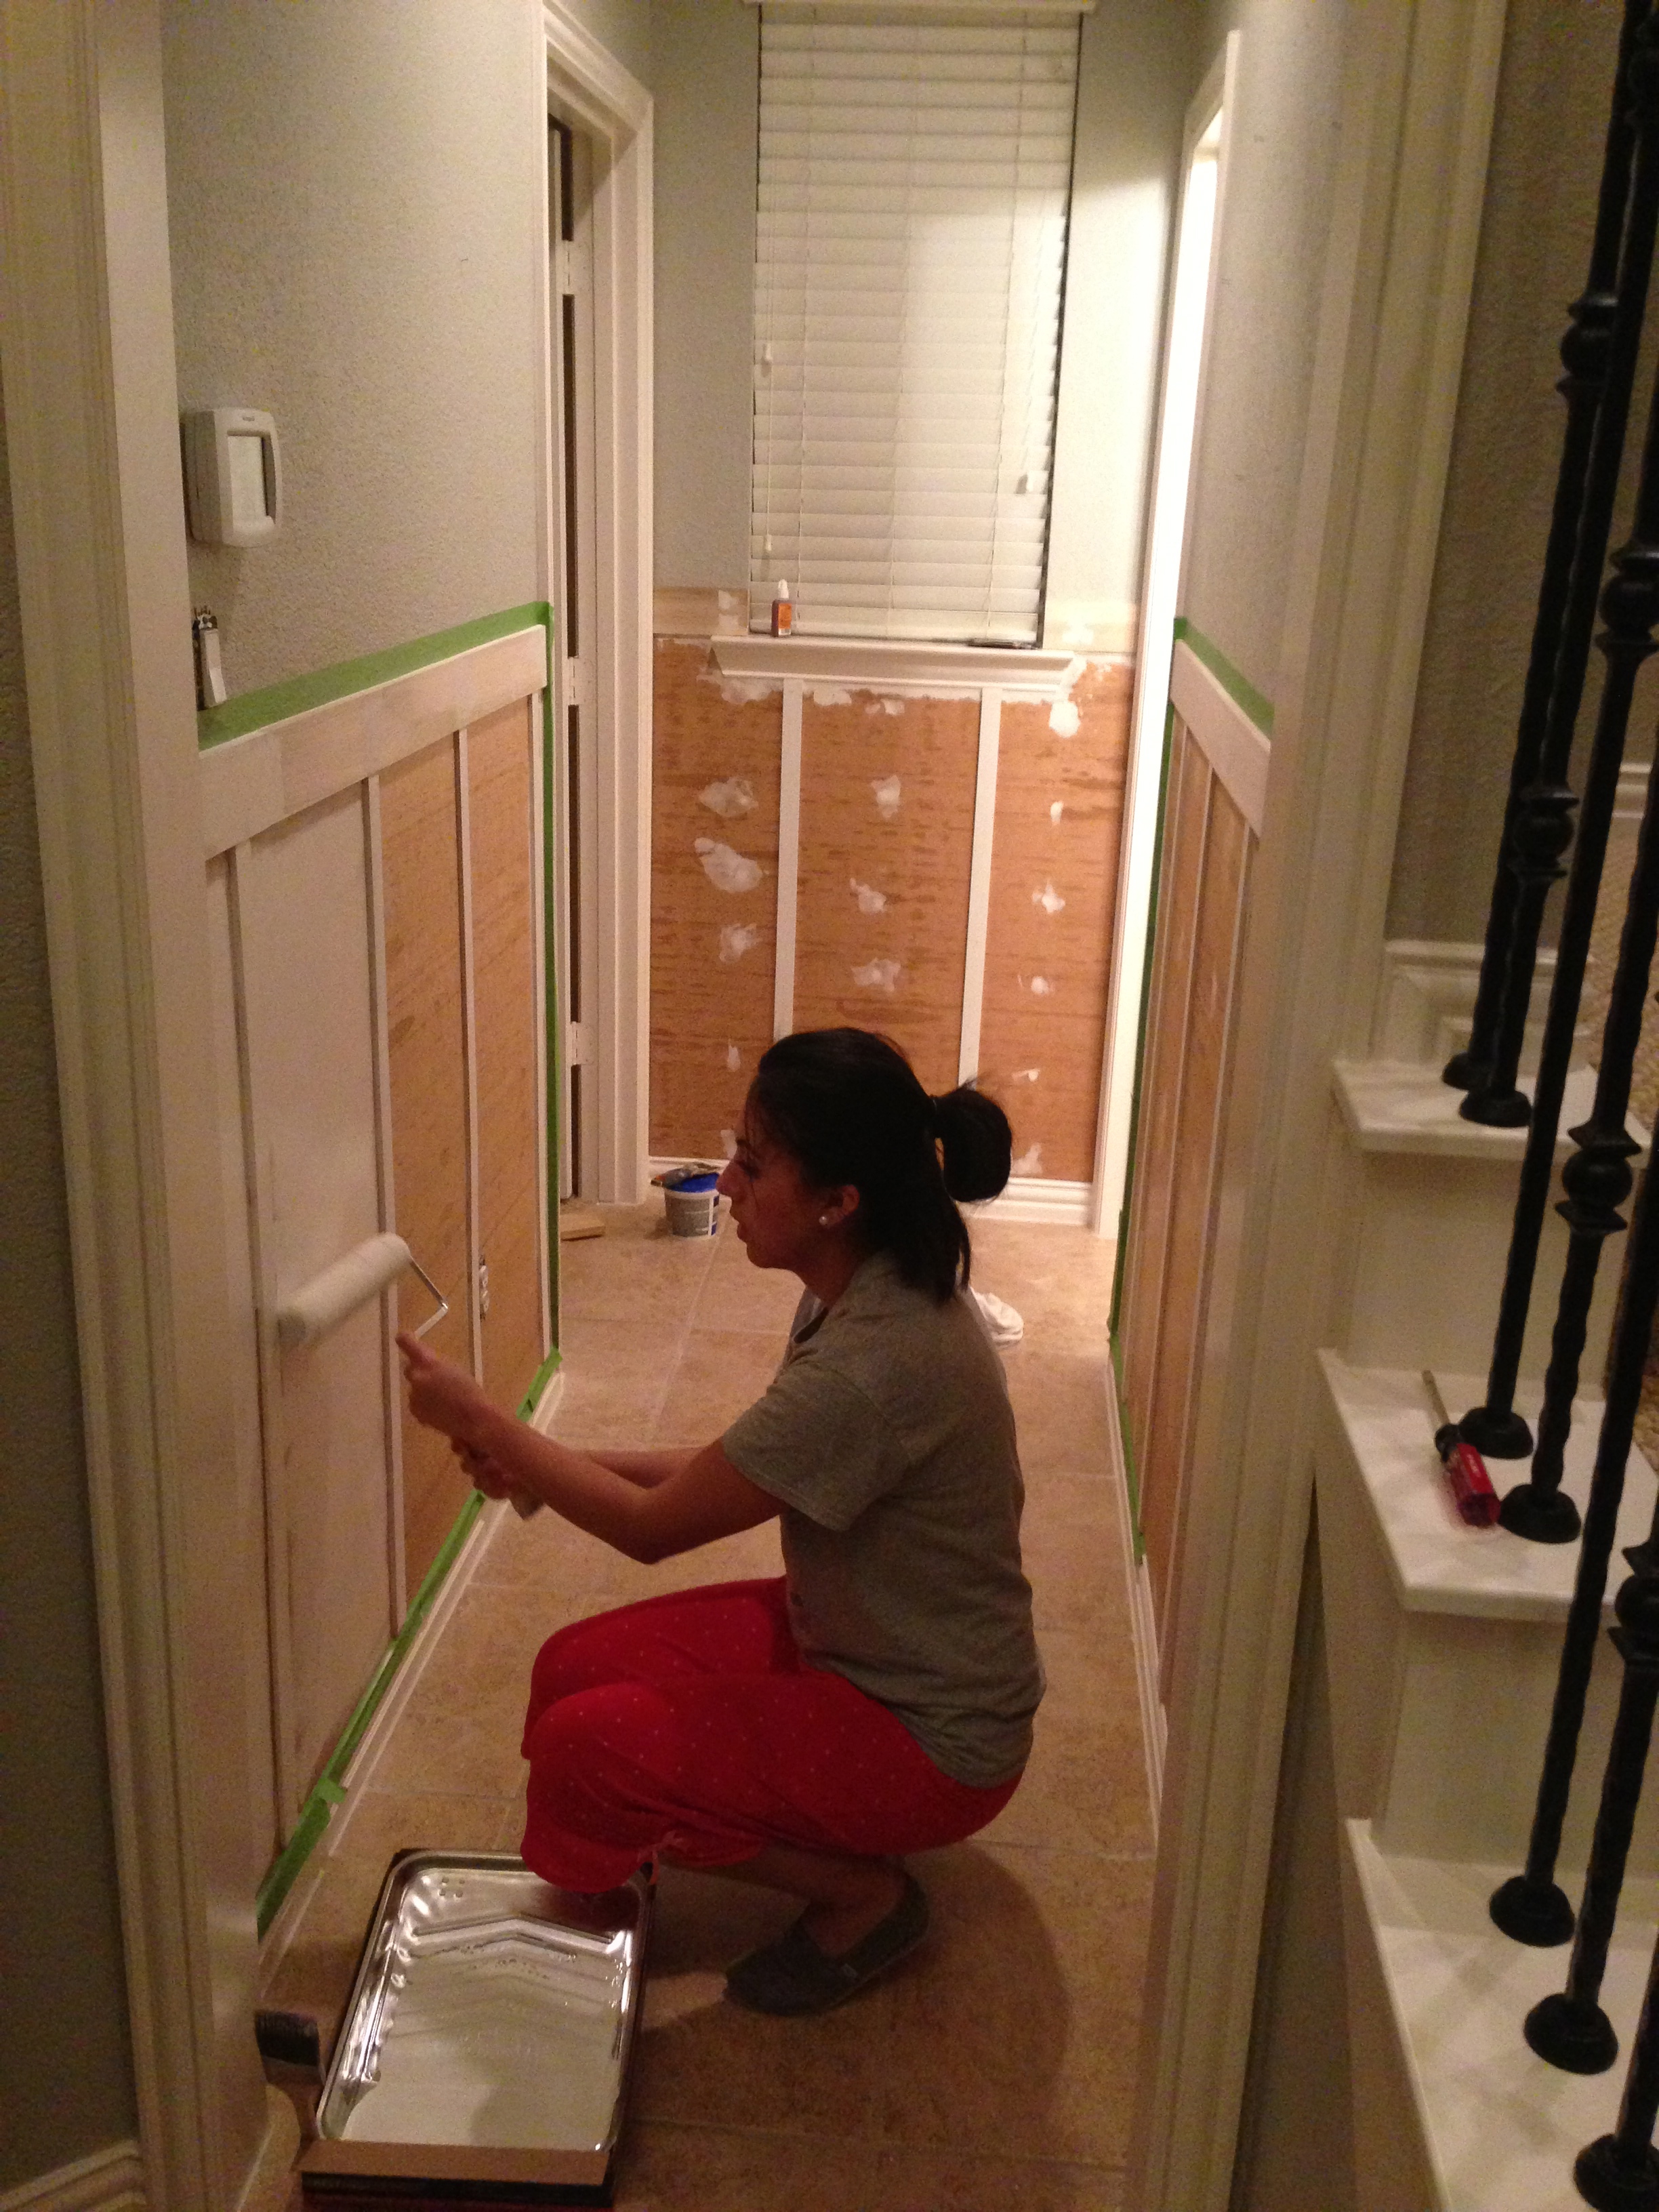
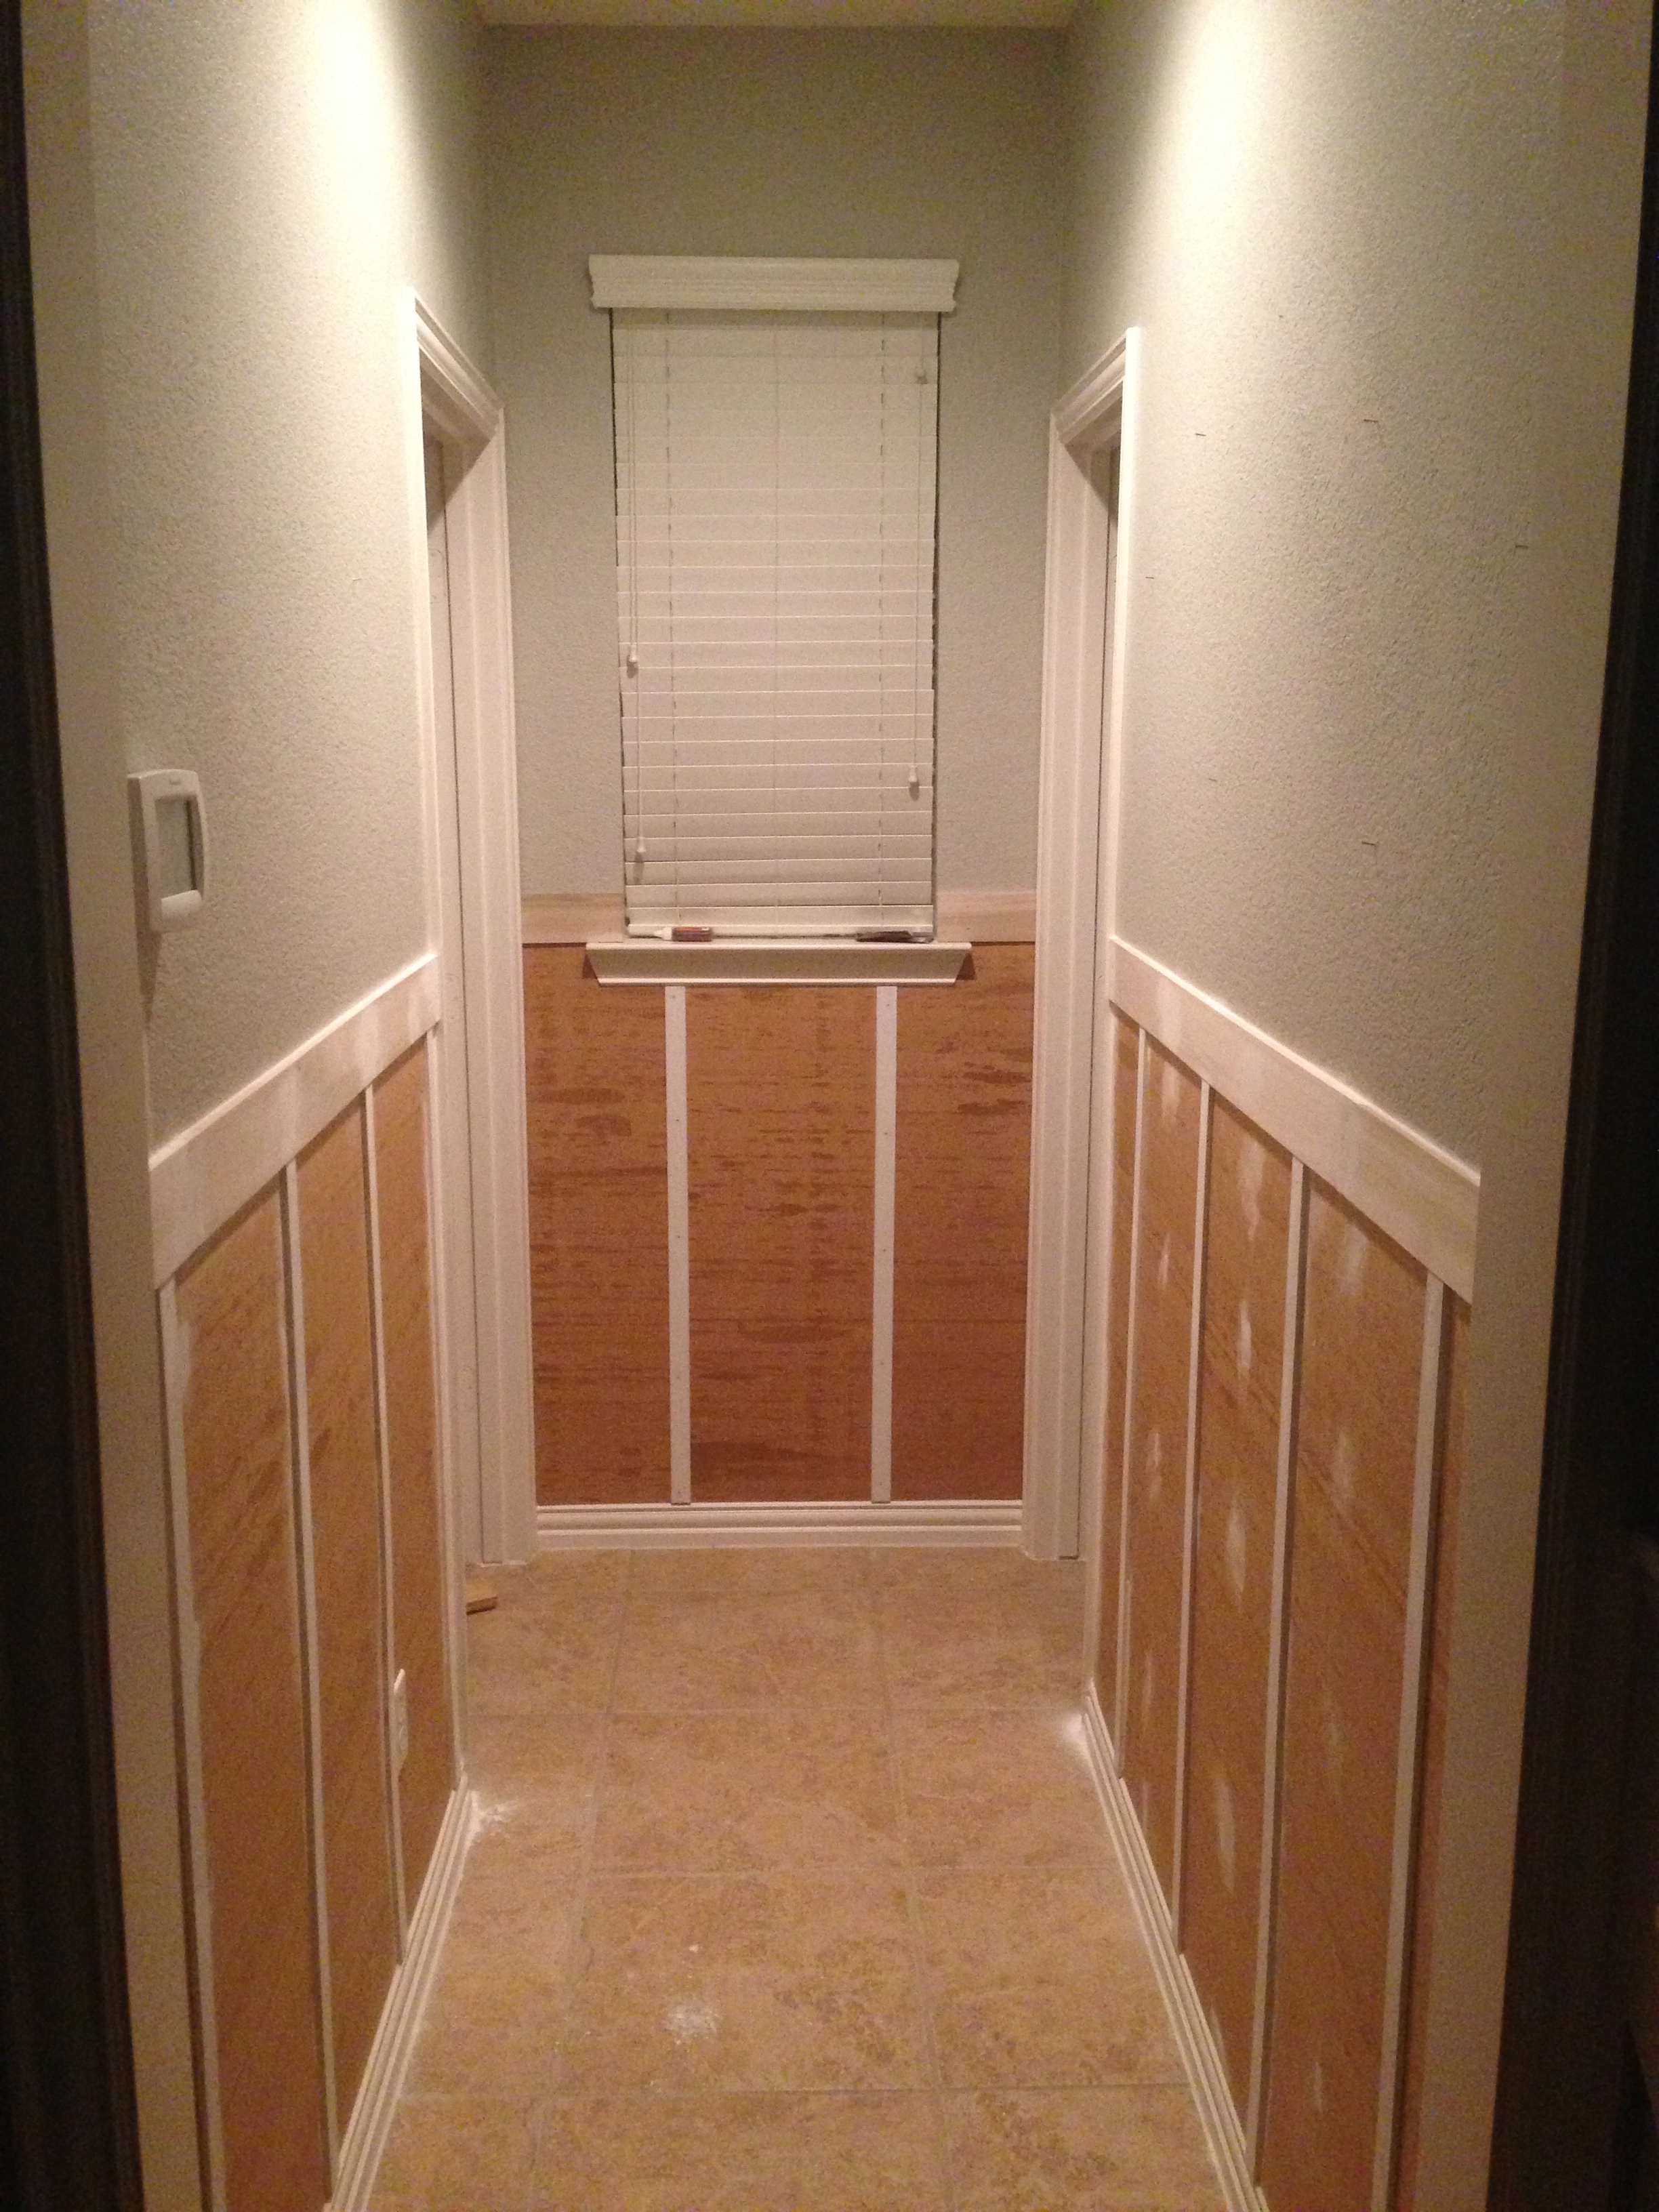
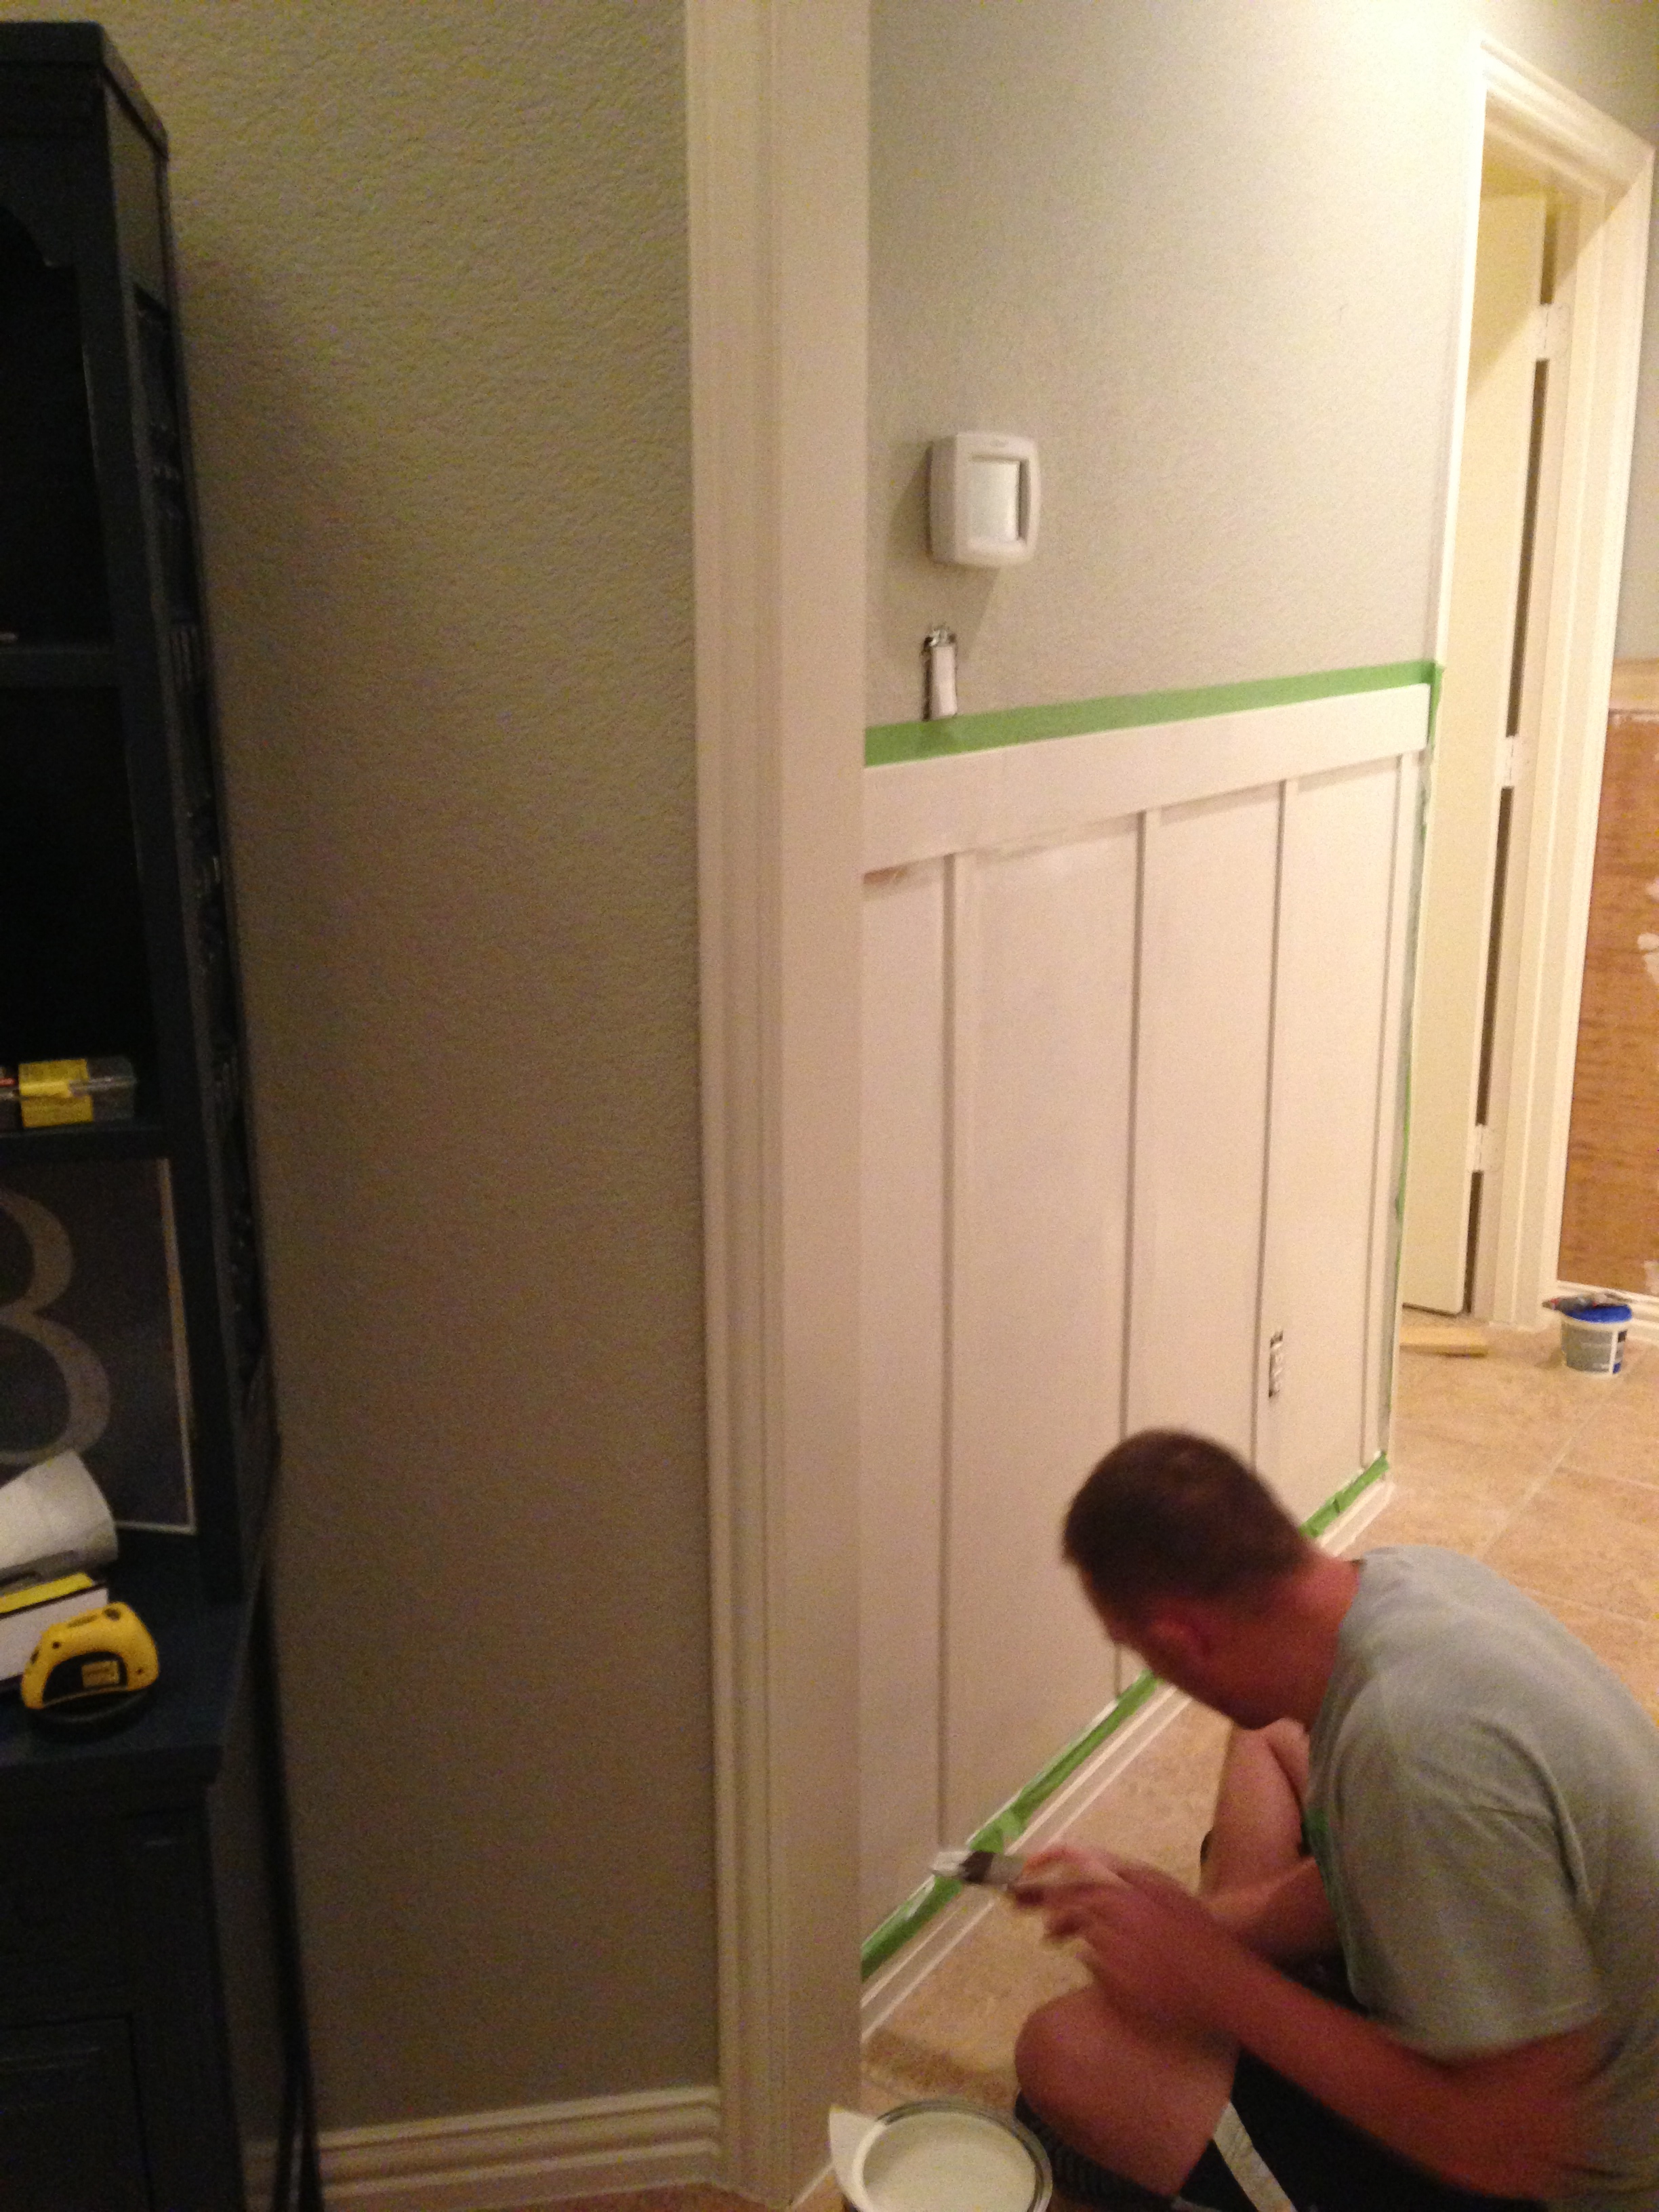
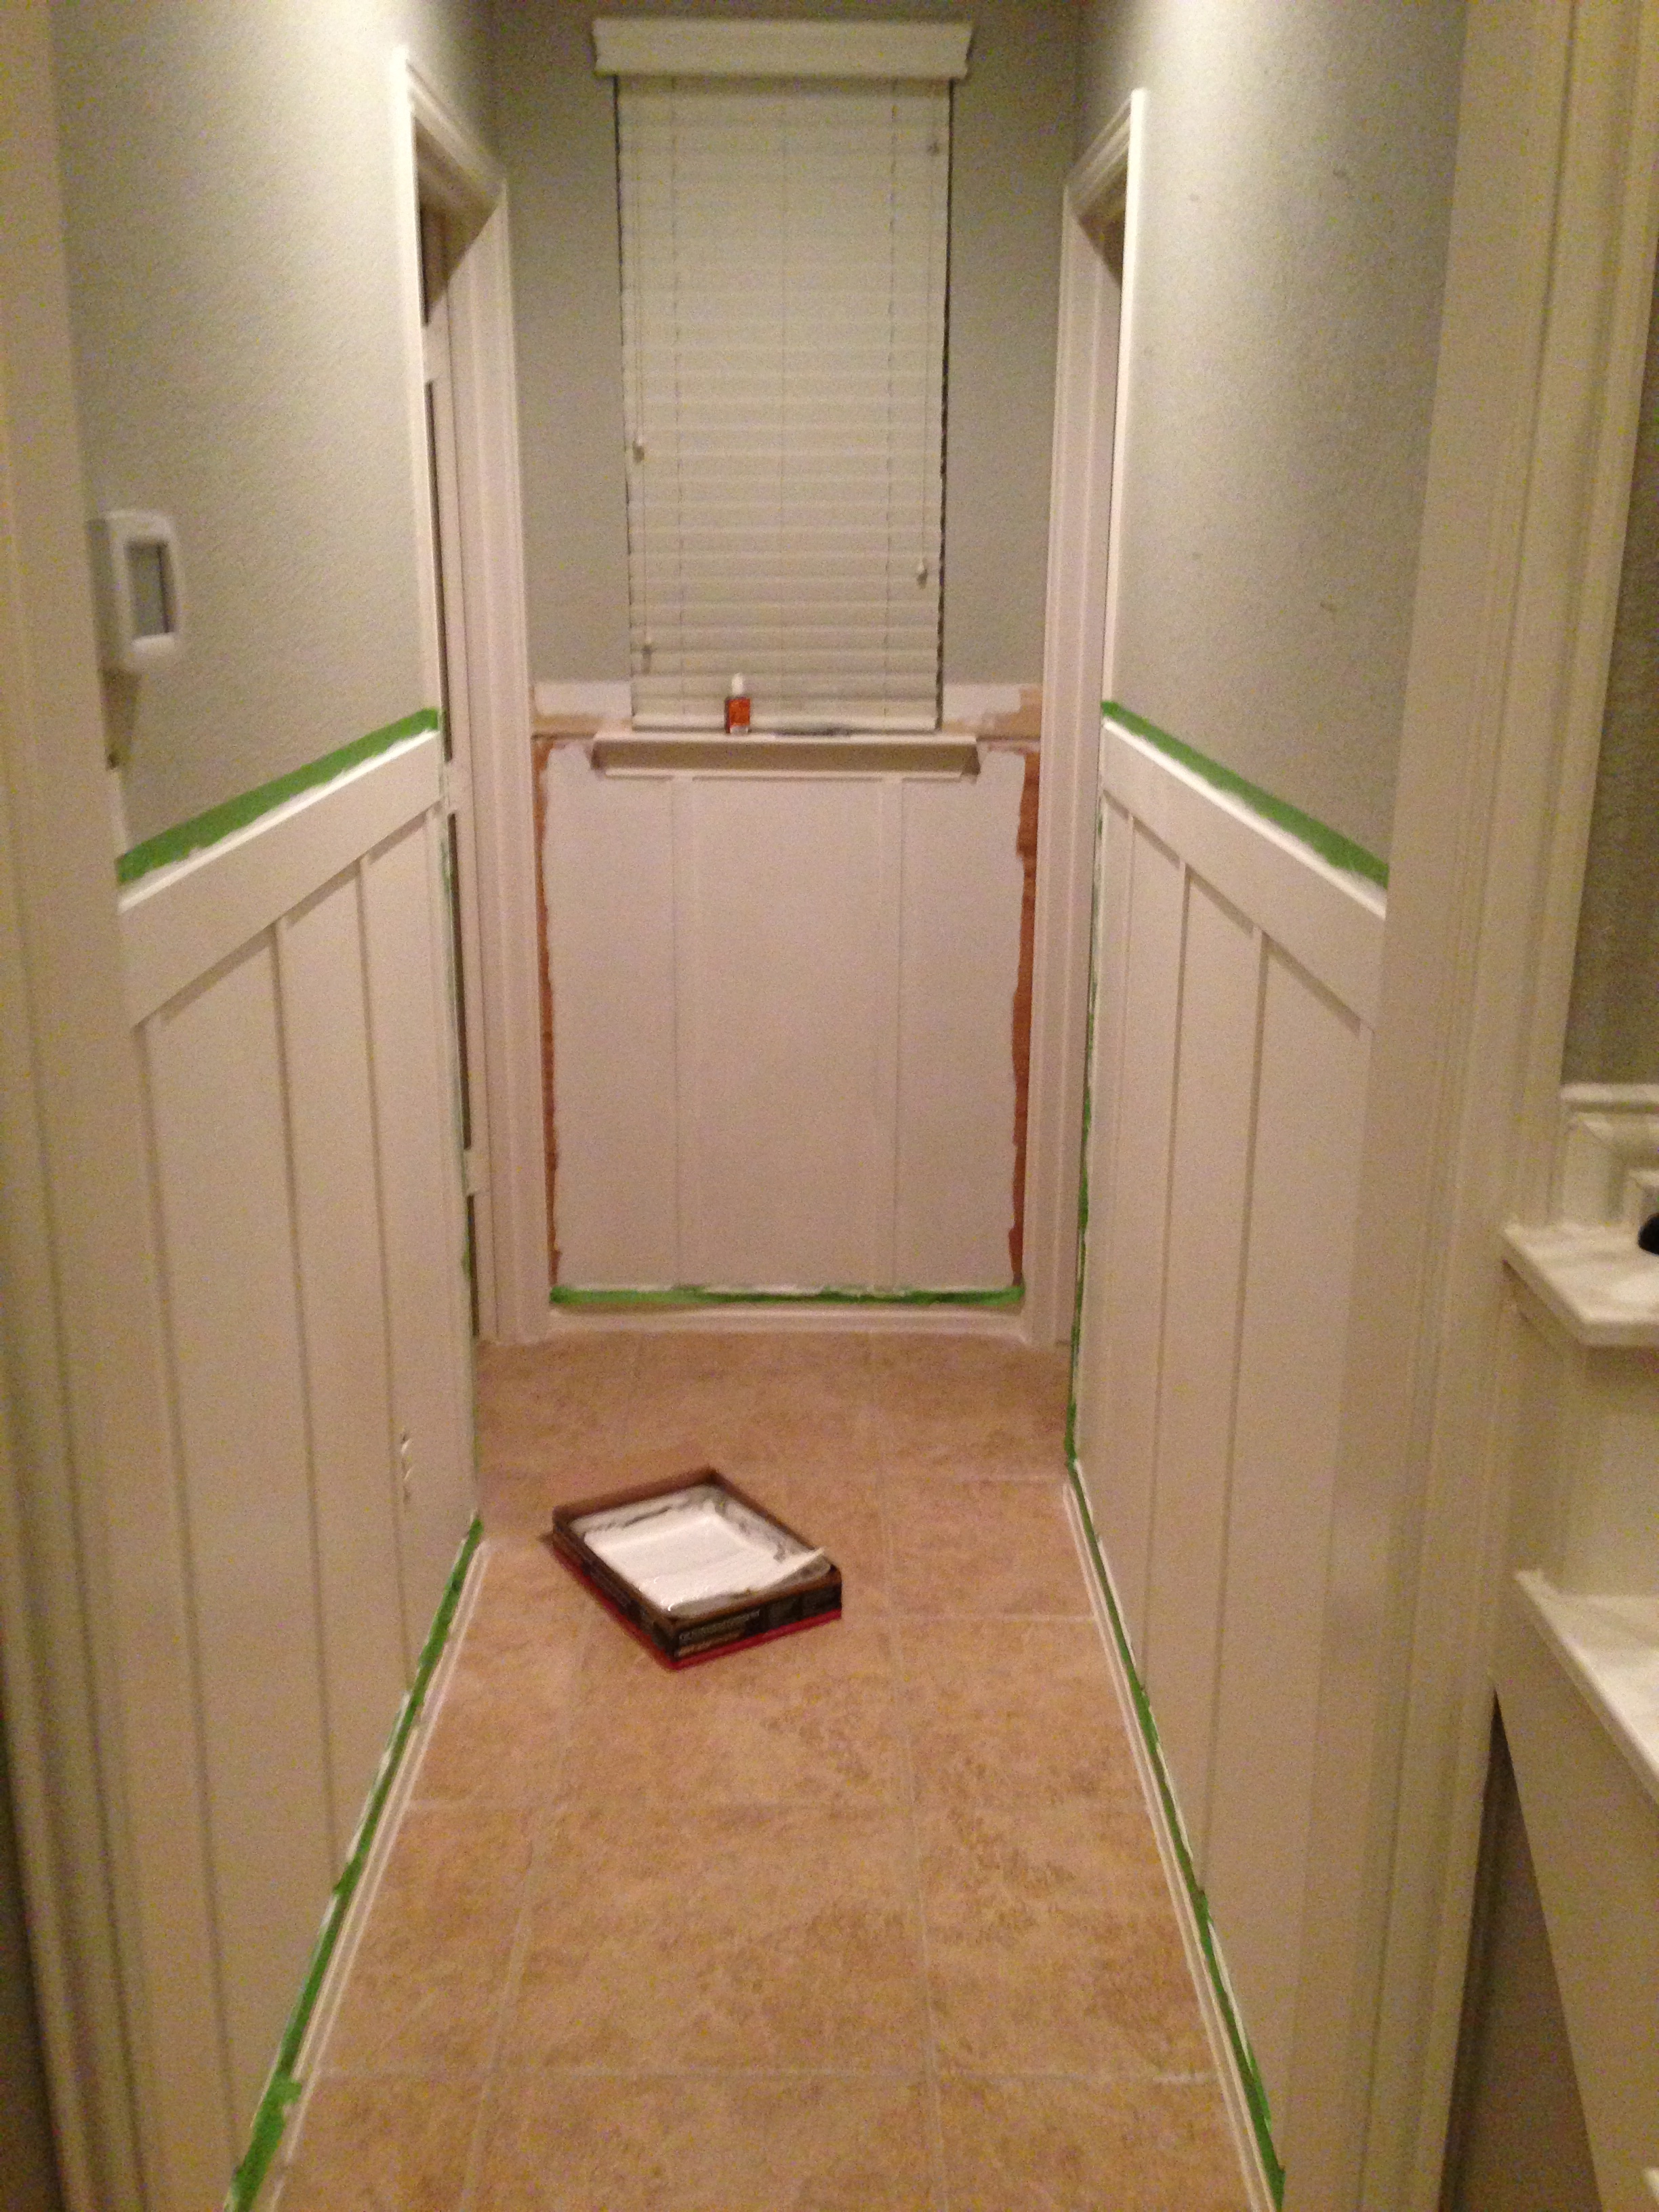
BEFORE & AFTER
The final product is beautiful, and I am incredibly proud of the results. You can see the before and after pictures below. What a difference!
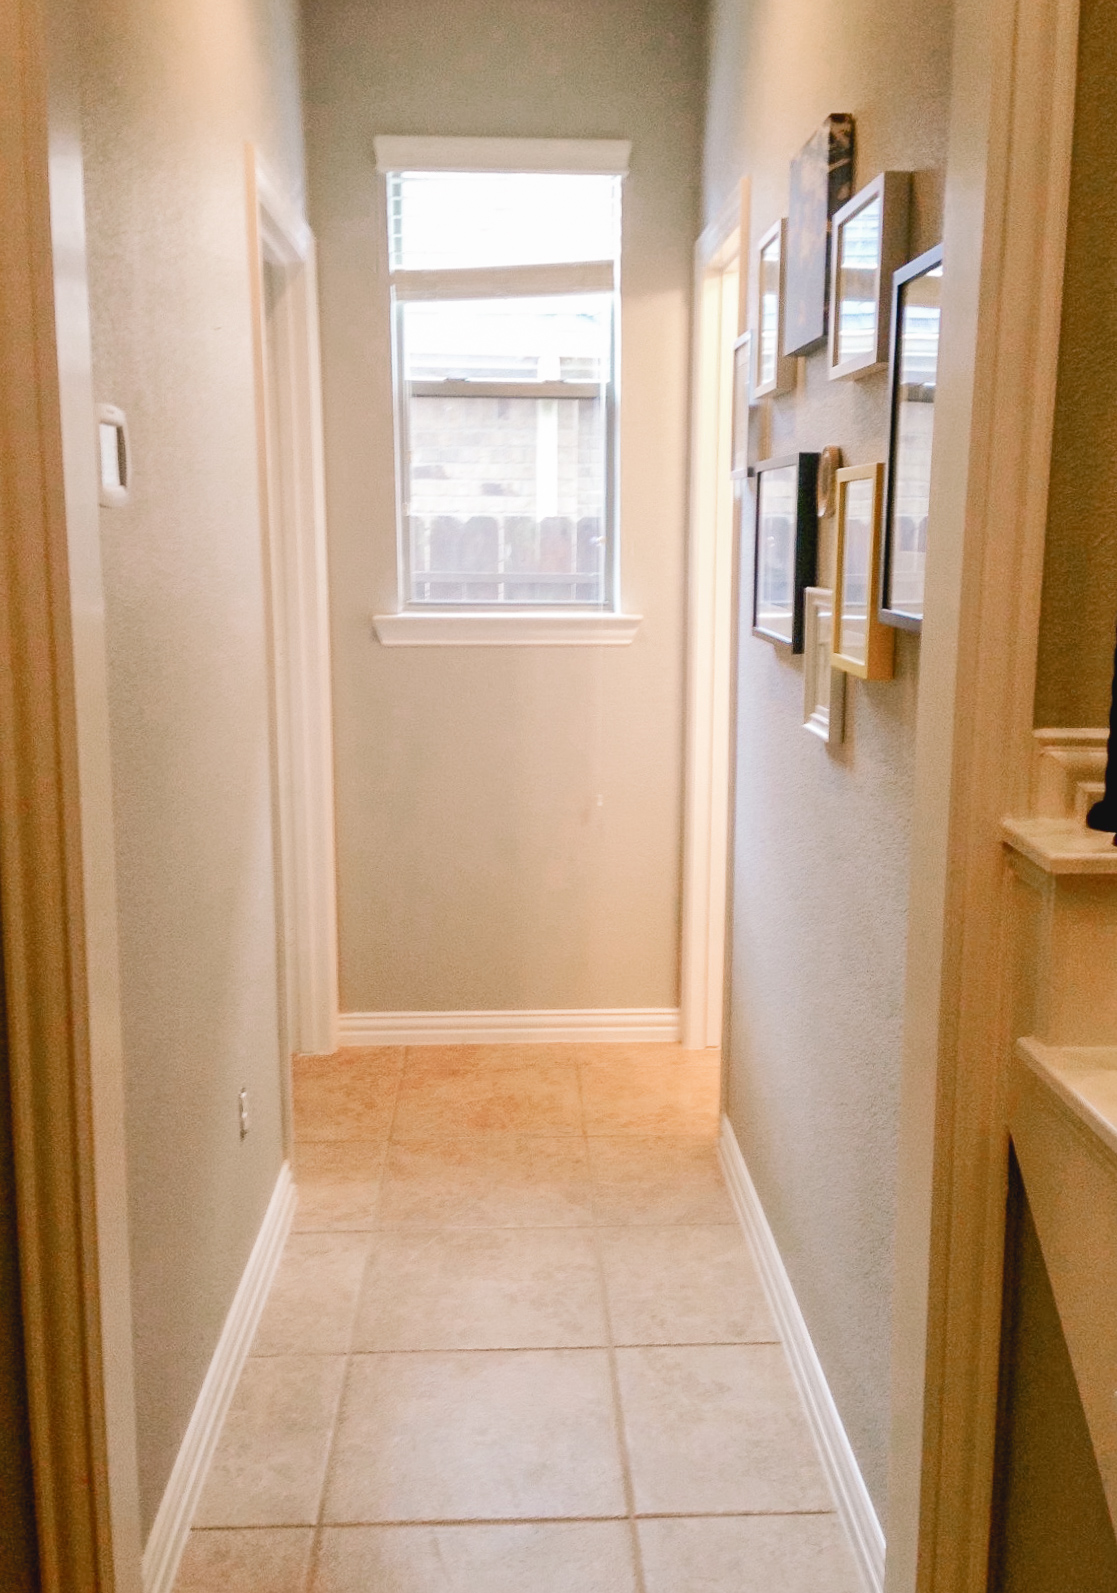
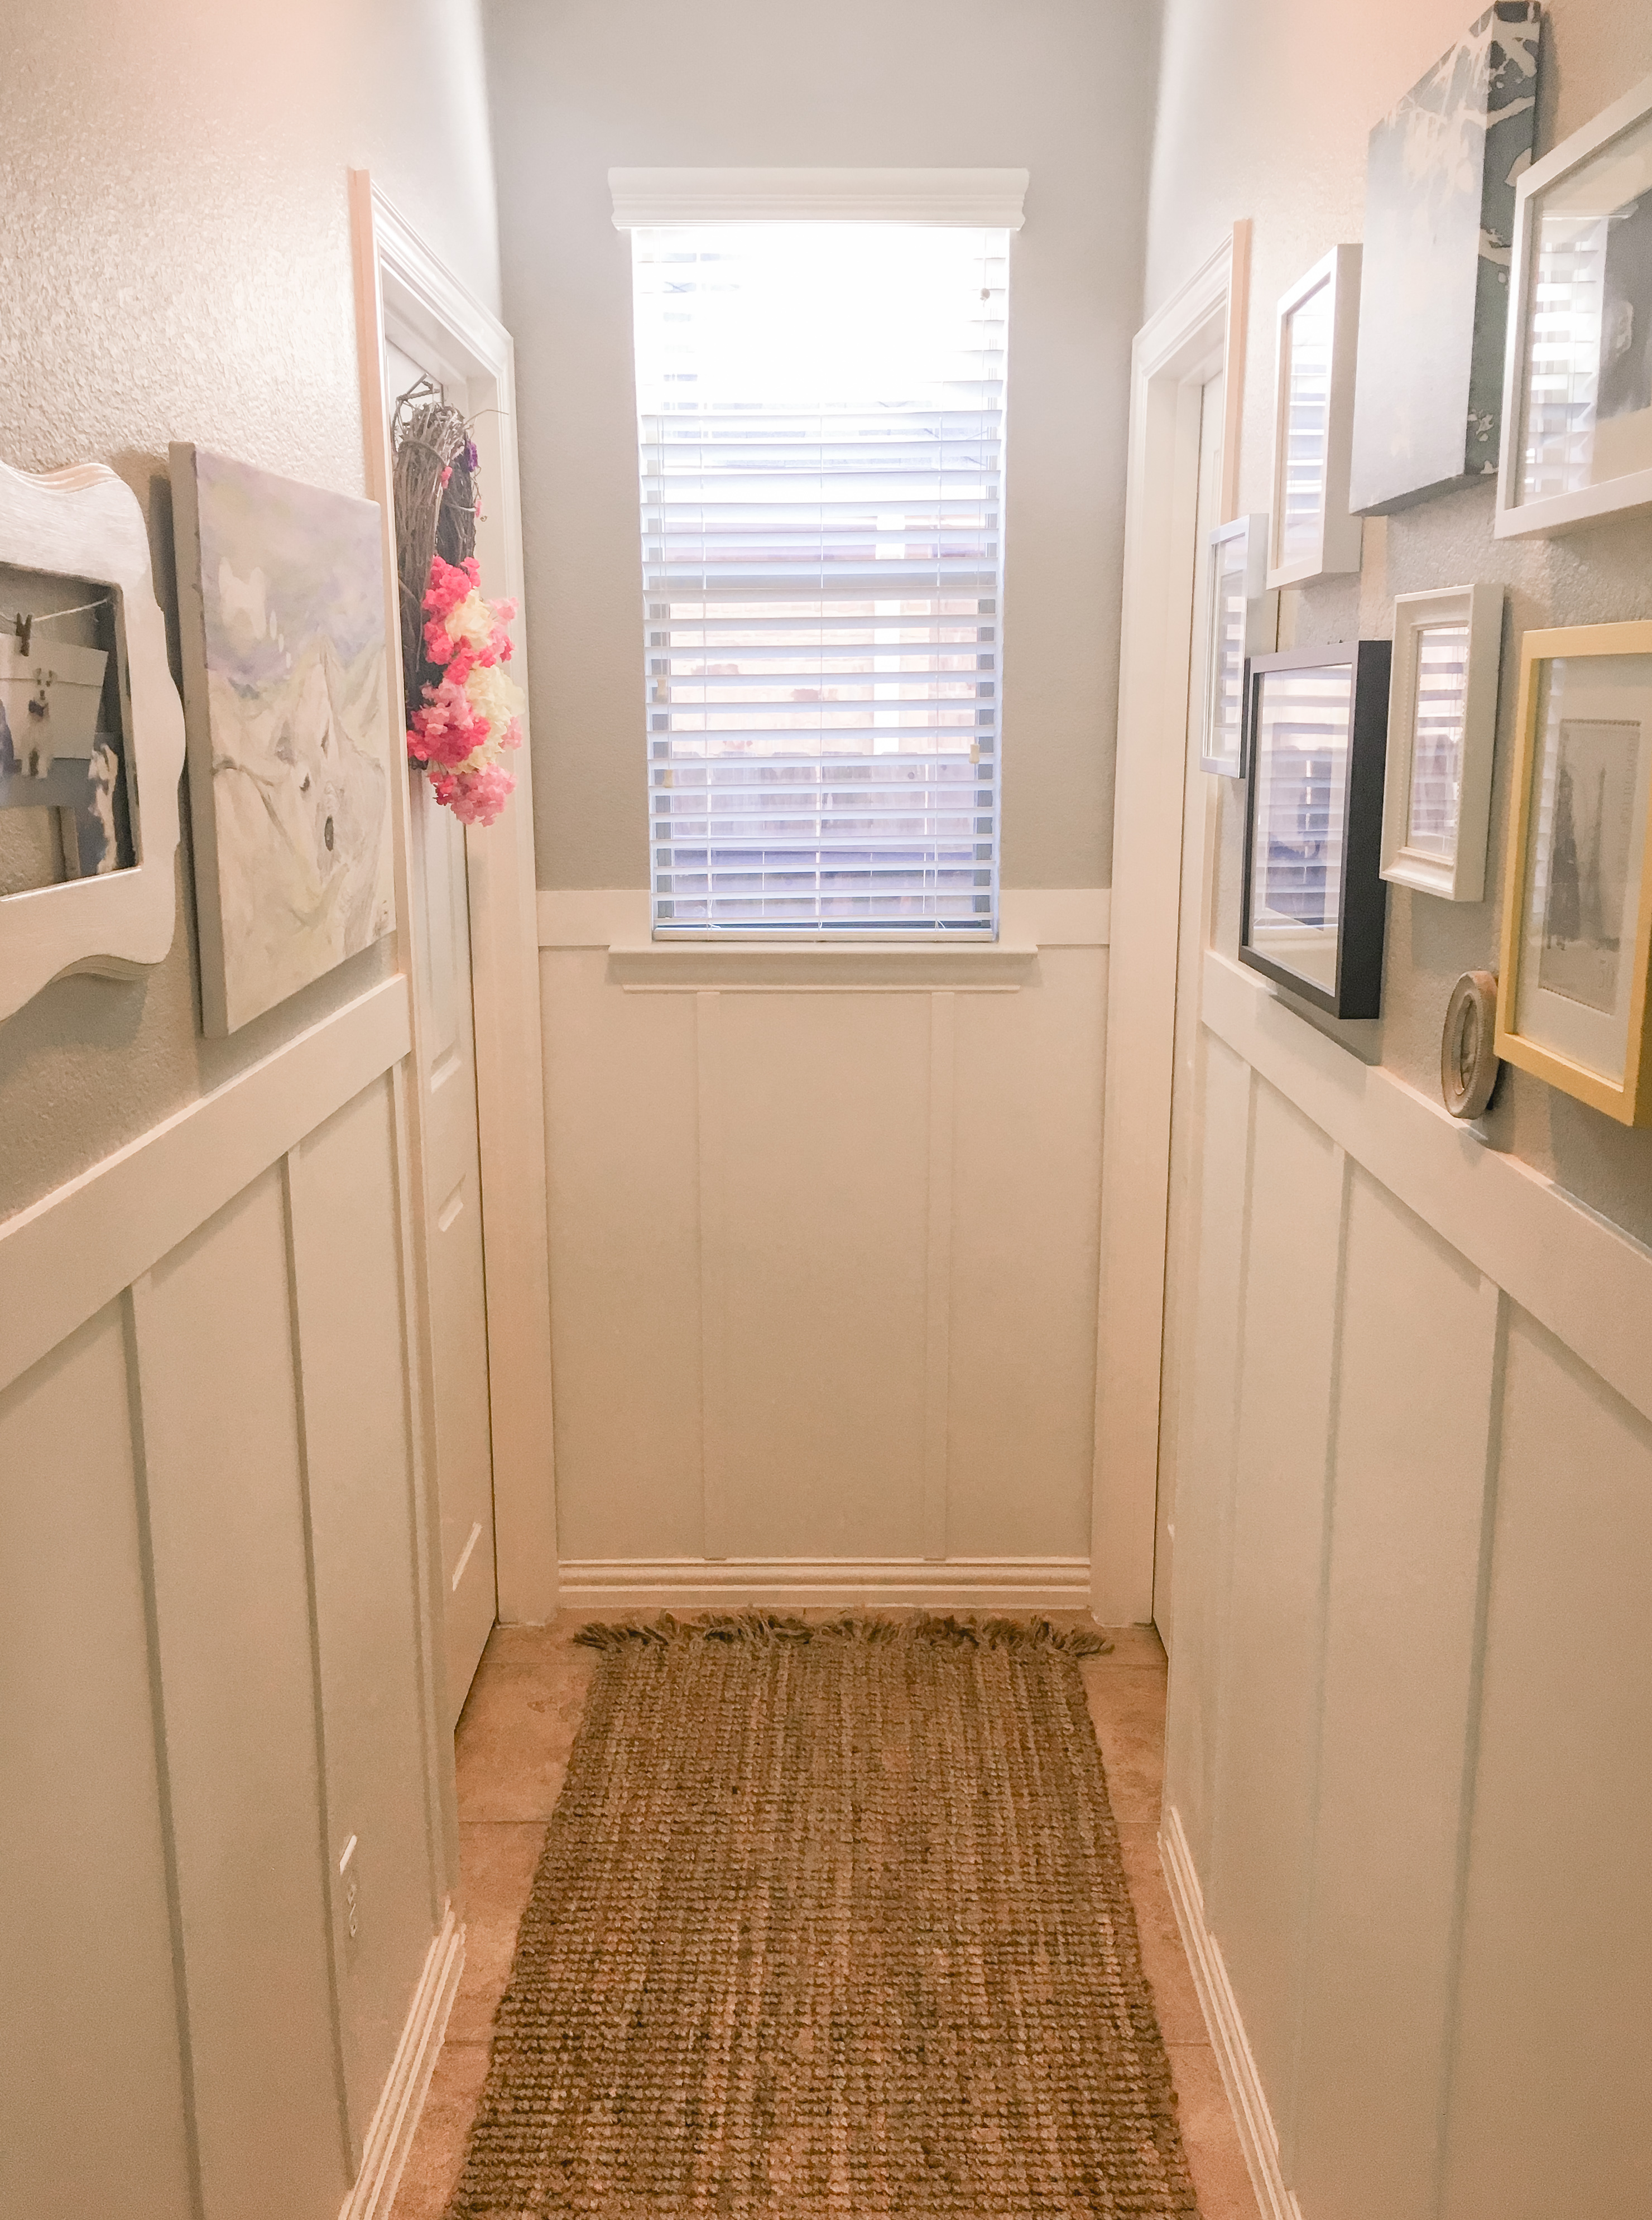
DIYing is rewarding. (Check out the Outdoor bench we built.). We were so proud of ourselves for having the courage to tackle this project and finishing it. It is not perfect, of course, but the results have upgraded the space. Plus we bonded over this project and the laughs we had, made this project so fun.
What projects have you worked on that made a big difference in your house?
If you found this step-by-step DIY inspiring, tell us where you will be installing it in the comments below.
Thank you so much for reading!
With Love and Gratitude, always,




Leave a Reply