BUILD OUTDOOR SOFA
Let me walk you step by step how to build an outdoor sofa (in 12 simple steps). We went the DIY route because it was in our budget and I had an idea of what I wanted the sofa to look like. I also enjoy DIYing and feel my hands are tools and made to create. As I mentioned in my Wood Sign DIY, I’ve made tutus, sewed blankets, remodeled my kitchen, painted furniture, and installed outdoor lighting. You name it; I’ve probably done it. My goal is to share all the DIYs I’ve personally worked on so that you can learn from my lessons and see the difference a little elbow grease makes. Maybe it will give you the courage to try it out. Today, I am sharing with you how to build an outdoor sofa in 12 simple steps. Just 12. Trust me that’s not a lot considering other projects I’ve worked on.
We chose to build an outdoor sofa on a hot Texas summer. Mainly because it was cheaper than buying a set. It was an adventure and great experience. Excited! That’s the word I would use to describe how I felt about creating my very own outdoor sofa and saving money (huge plus). We were thrilled to put it together ourselves. Cecil and I had our fun hammering, cutting and cursing when we accidentally hammered a finger or two. Ouch! We talked through every step and cracked jokes. Serious marriage bonding! For those that like to make furniture and get your hands dirty with a DIY project, this outdoor bench will challenge you. In a good way though. If you’re willing to be patient and work for about eight hours (not counting the planning and shopping), then I think you’ll have yourself a beautiful wooden bench in the end.
We got the sofa idea from Ana White‘s website. Have you heard of her? She is AMAZING and built her house, and everything in it from the ground up. Her site has many different plans (including measurements and the list of supplies needed). Here is the plan we followed to build our Outdoor Sofa.
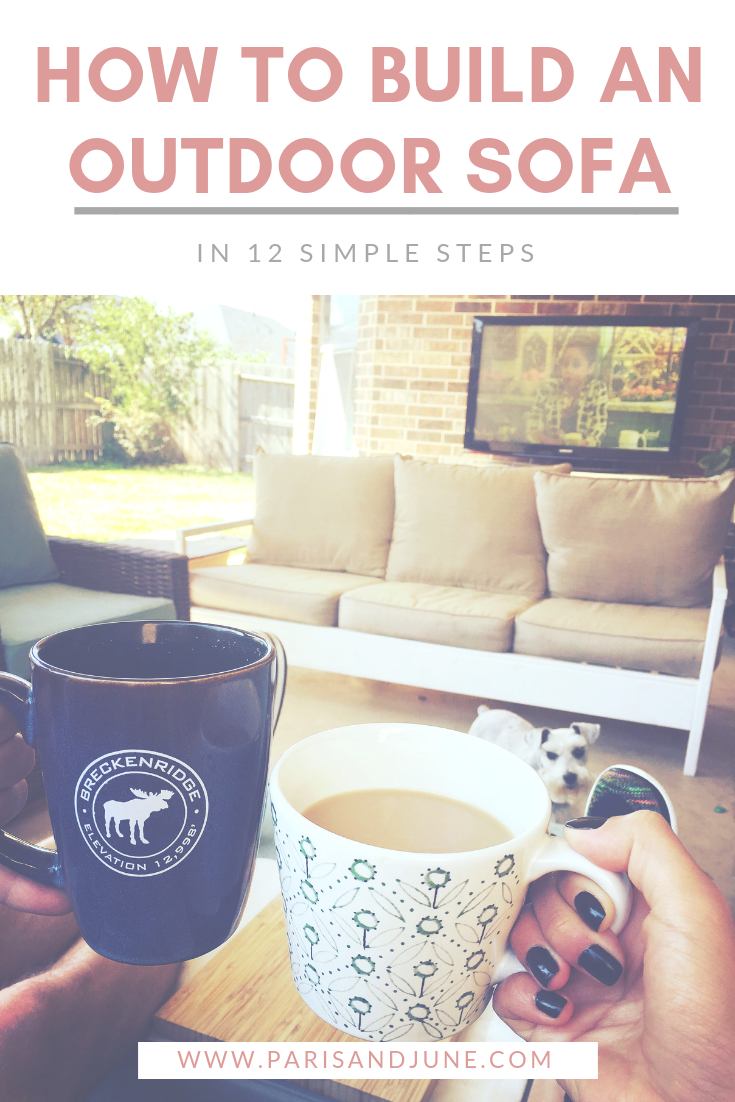
STEPS TO BUILD AN OUTDOOR SOFA
Budget: $400
Tools
*We used what we had on hand and didn’t buy any new tools.
- Drill
- Nail gun (we didn’t have one in hand, and we had a budget to stick to so we hammered our way through this project.)
- Hammer
- Measuring tape
- Pencil
- Saw (Hand saw, or Mitter saw)
- Sawhorse (or an area to cut wood)
- Square
- Paint brushes and small rollers
Supplies
- Treated wood (so it will last outside)
- Nails (finishing nails)
- Screws
- Paint
- Cushions (if you don’t have any)
- The day before we started our outdoor bench adventure, we went shopping and bought all the wood at Lowe’s. We thought “yeah we are handy, WE CAN DO THIS!” It’s going to be a piece of cake. Boy, we had no idea. At one point, during the hammering and drilling, I remember thinking, “wow, this is a lot of work.” Now that I think about it, yeah, that day was hard work, but I wouldn’t change a thing because we learned a lot.
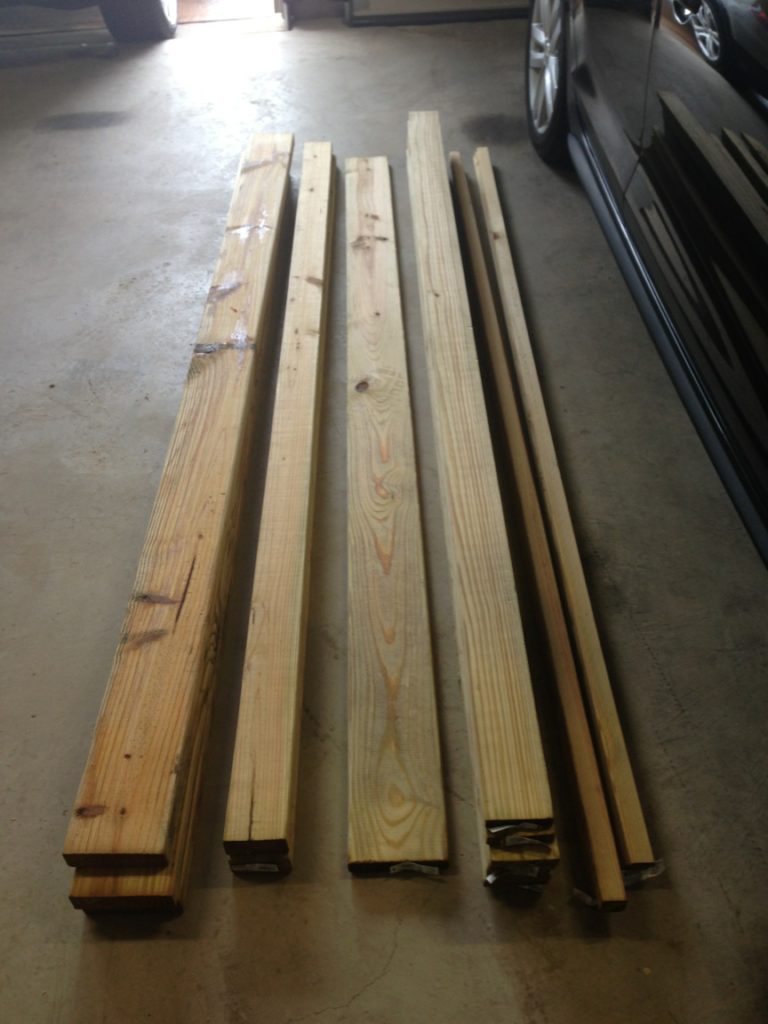
2. Mark measurements. Before cutting the wood we measured and re-measured. By we, I mean Cecil (grinning cutely). He wanted to make sure it was all the perfectly measured. We took our time cutting the wood (and this time I helped).
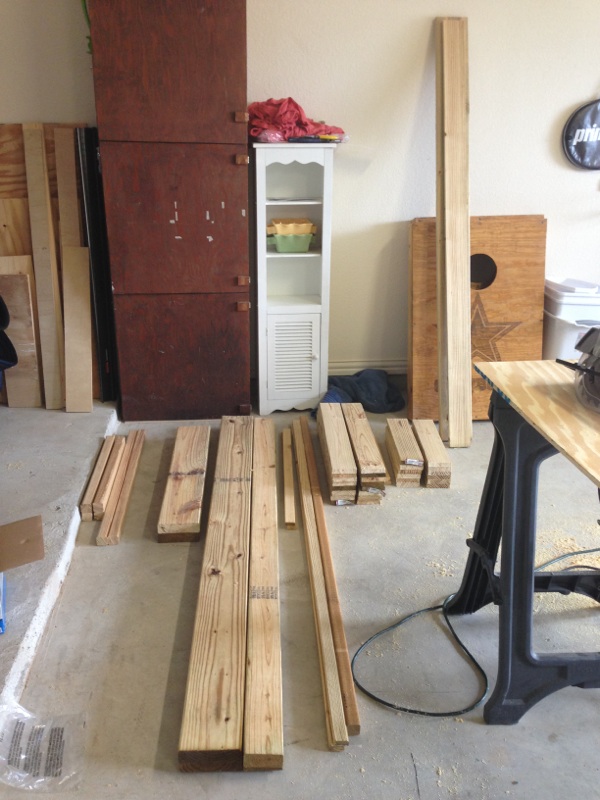
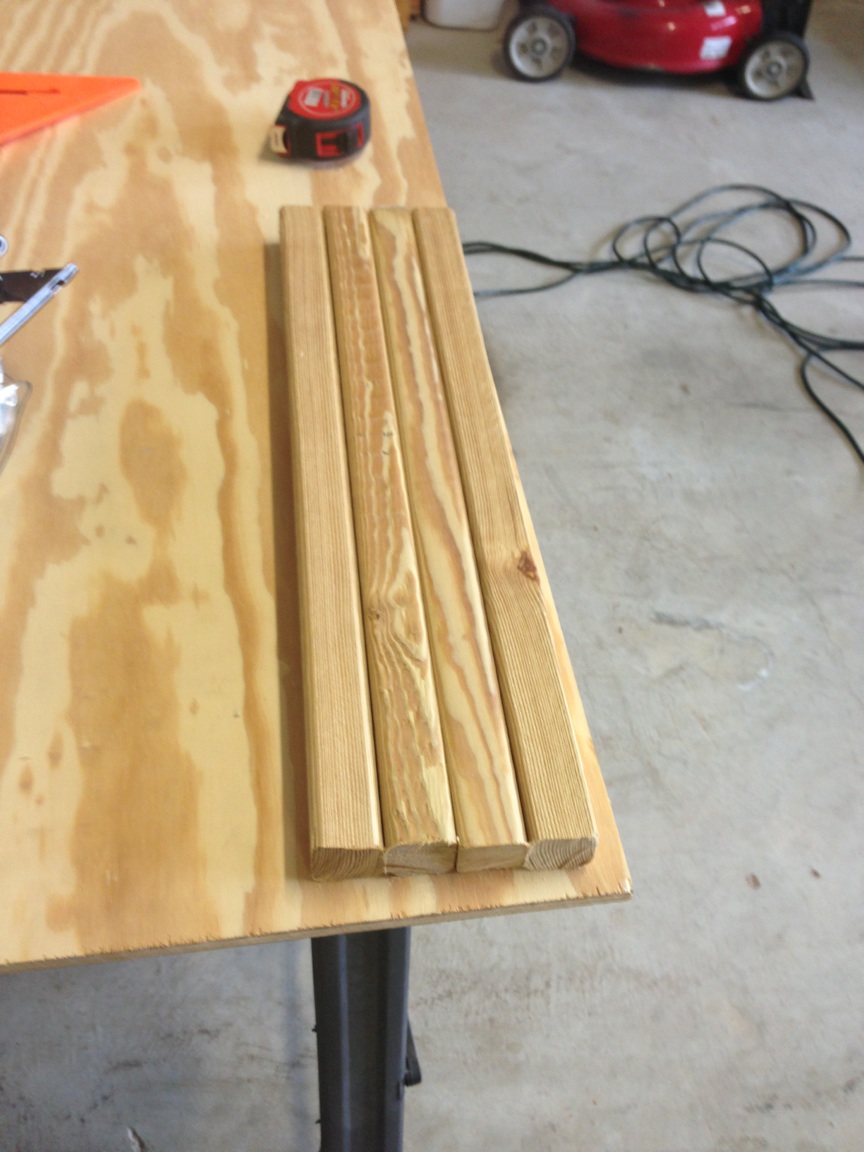
3. Once we made cuts, we drilled holes in the pieces of wood that would be the legs. Note: the size of the drill bit is in Anna White’s website.
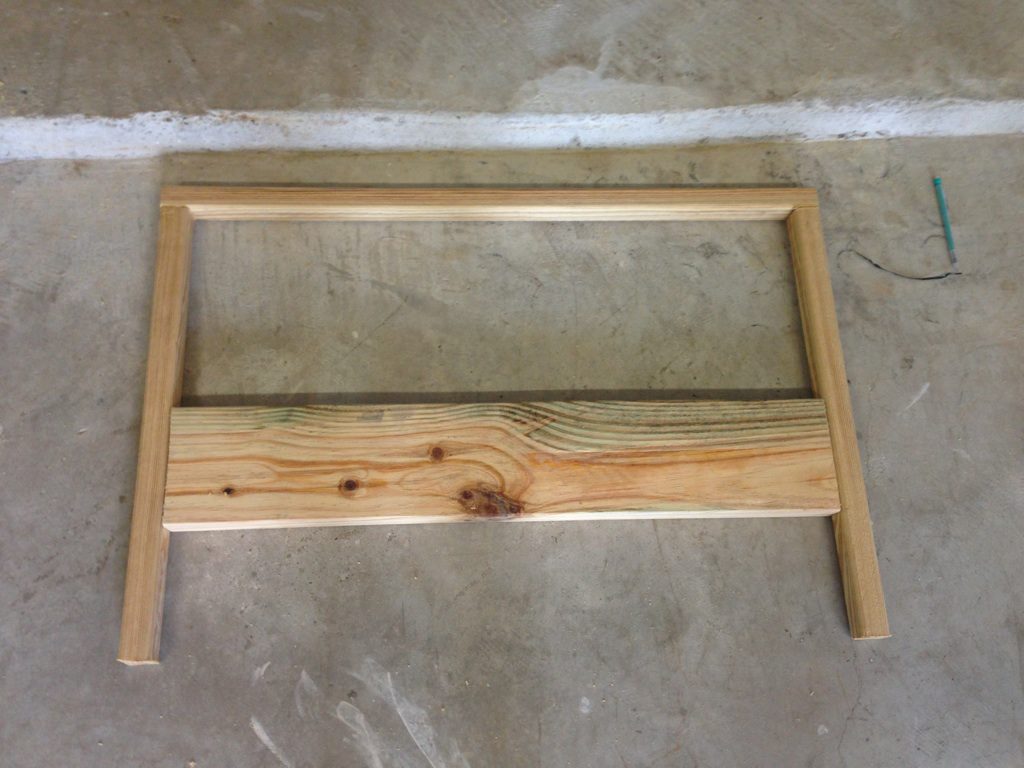
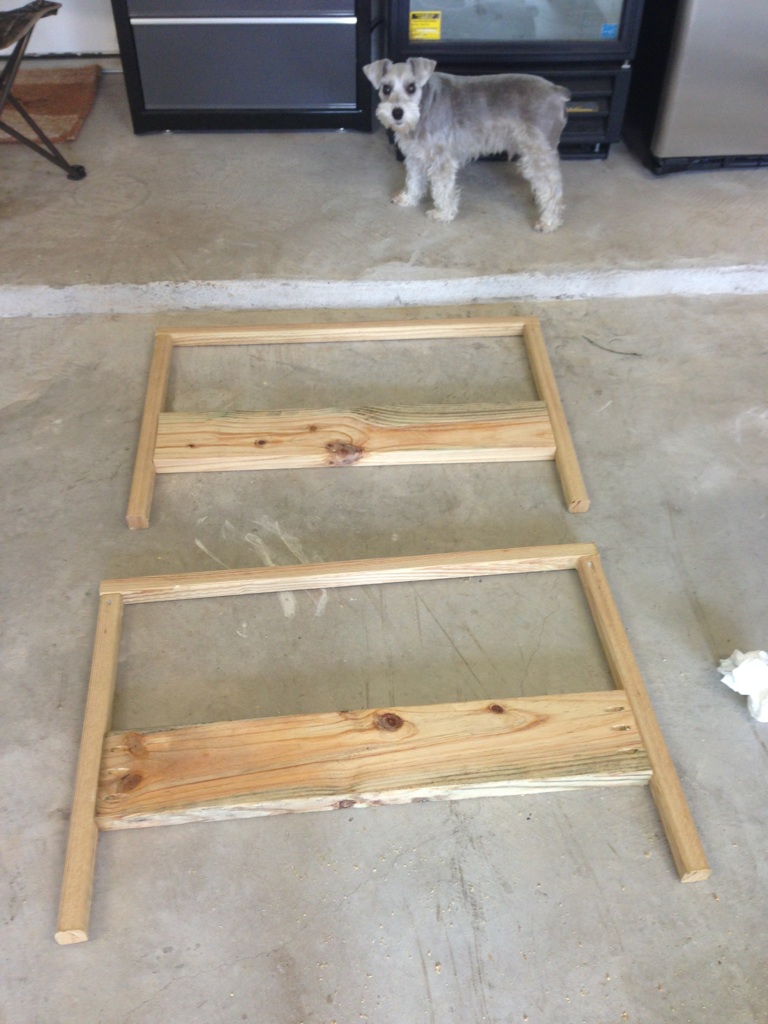
4. Then we put the legs together. Once that happened I could see progress. Progress made me giddy!
5. Then we put together the other side. It was exciting! Charlie’s helping paw was an encouragement. At every turn he was right there like “Hey mom, what are you building?” Then he would wag his little nub with approval.
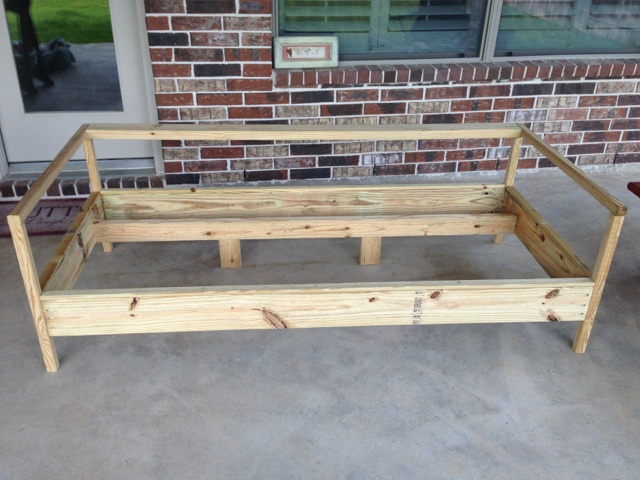
6. Once the legs came together, the base of the sofa starts forming. At this time we moved the bench building party to the back porch because we didn’t want to carry a heavy wooden bench through or around our house.
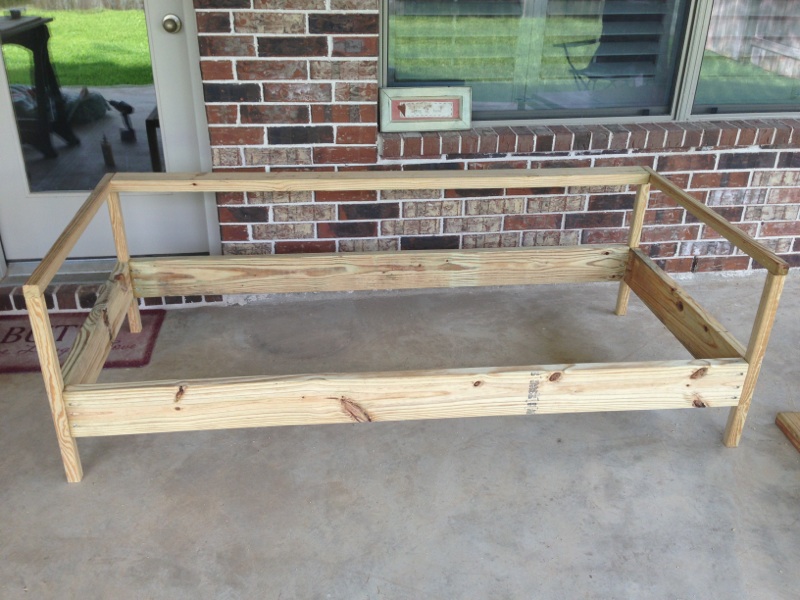
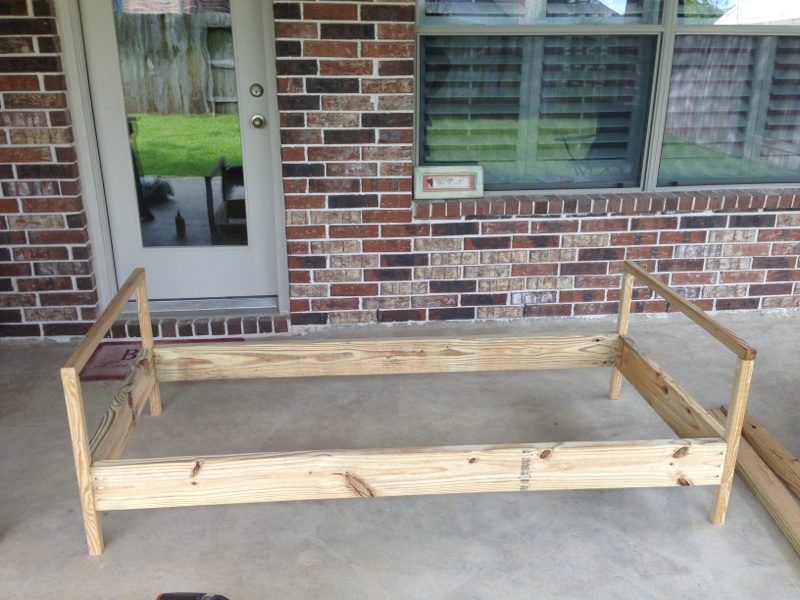
7. Then added the back support.
8. Once the base and the back support are in place, we installed the seat support. On the side, we had what would be the back and the seat laid out. We put that together once we installed the seat support.
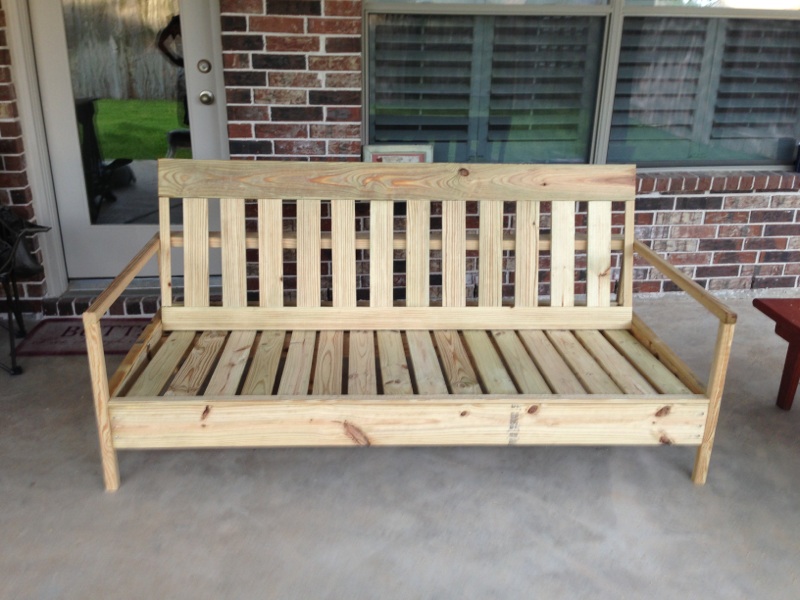
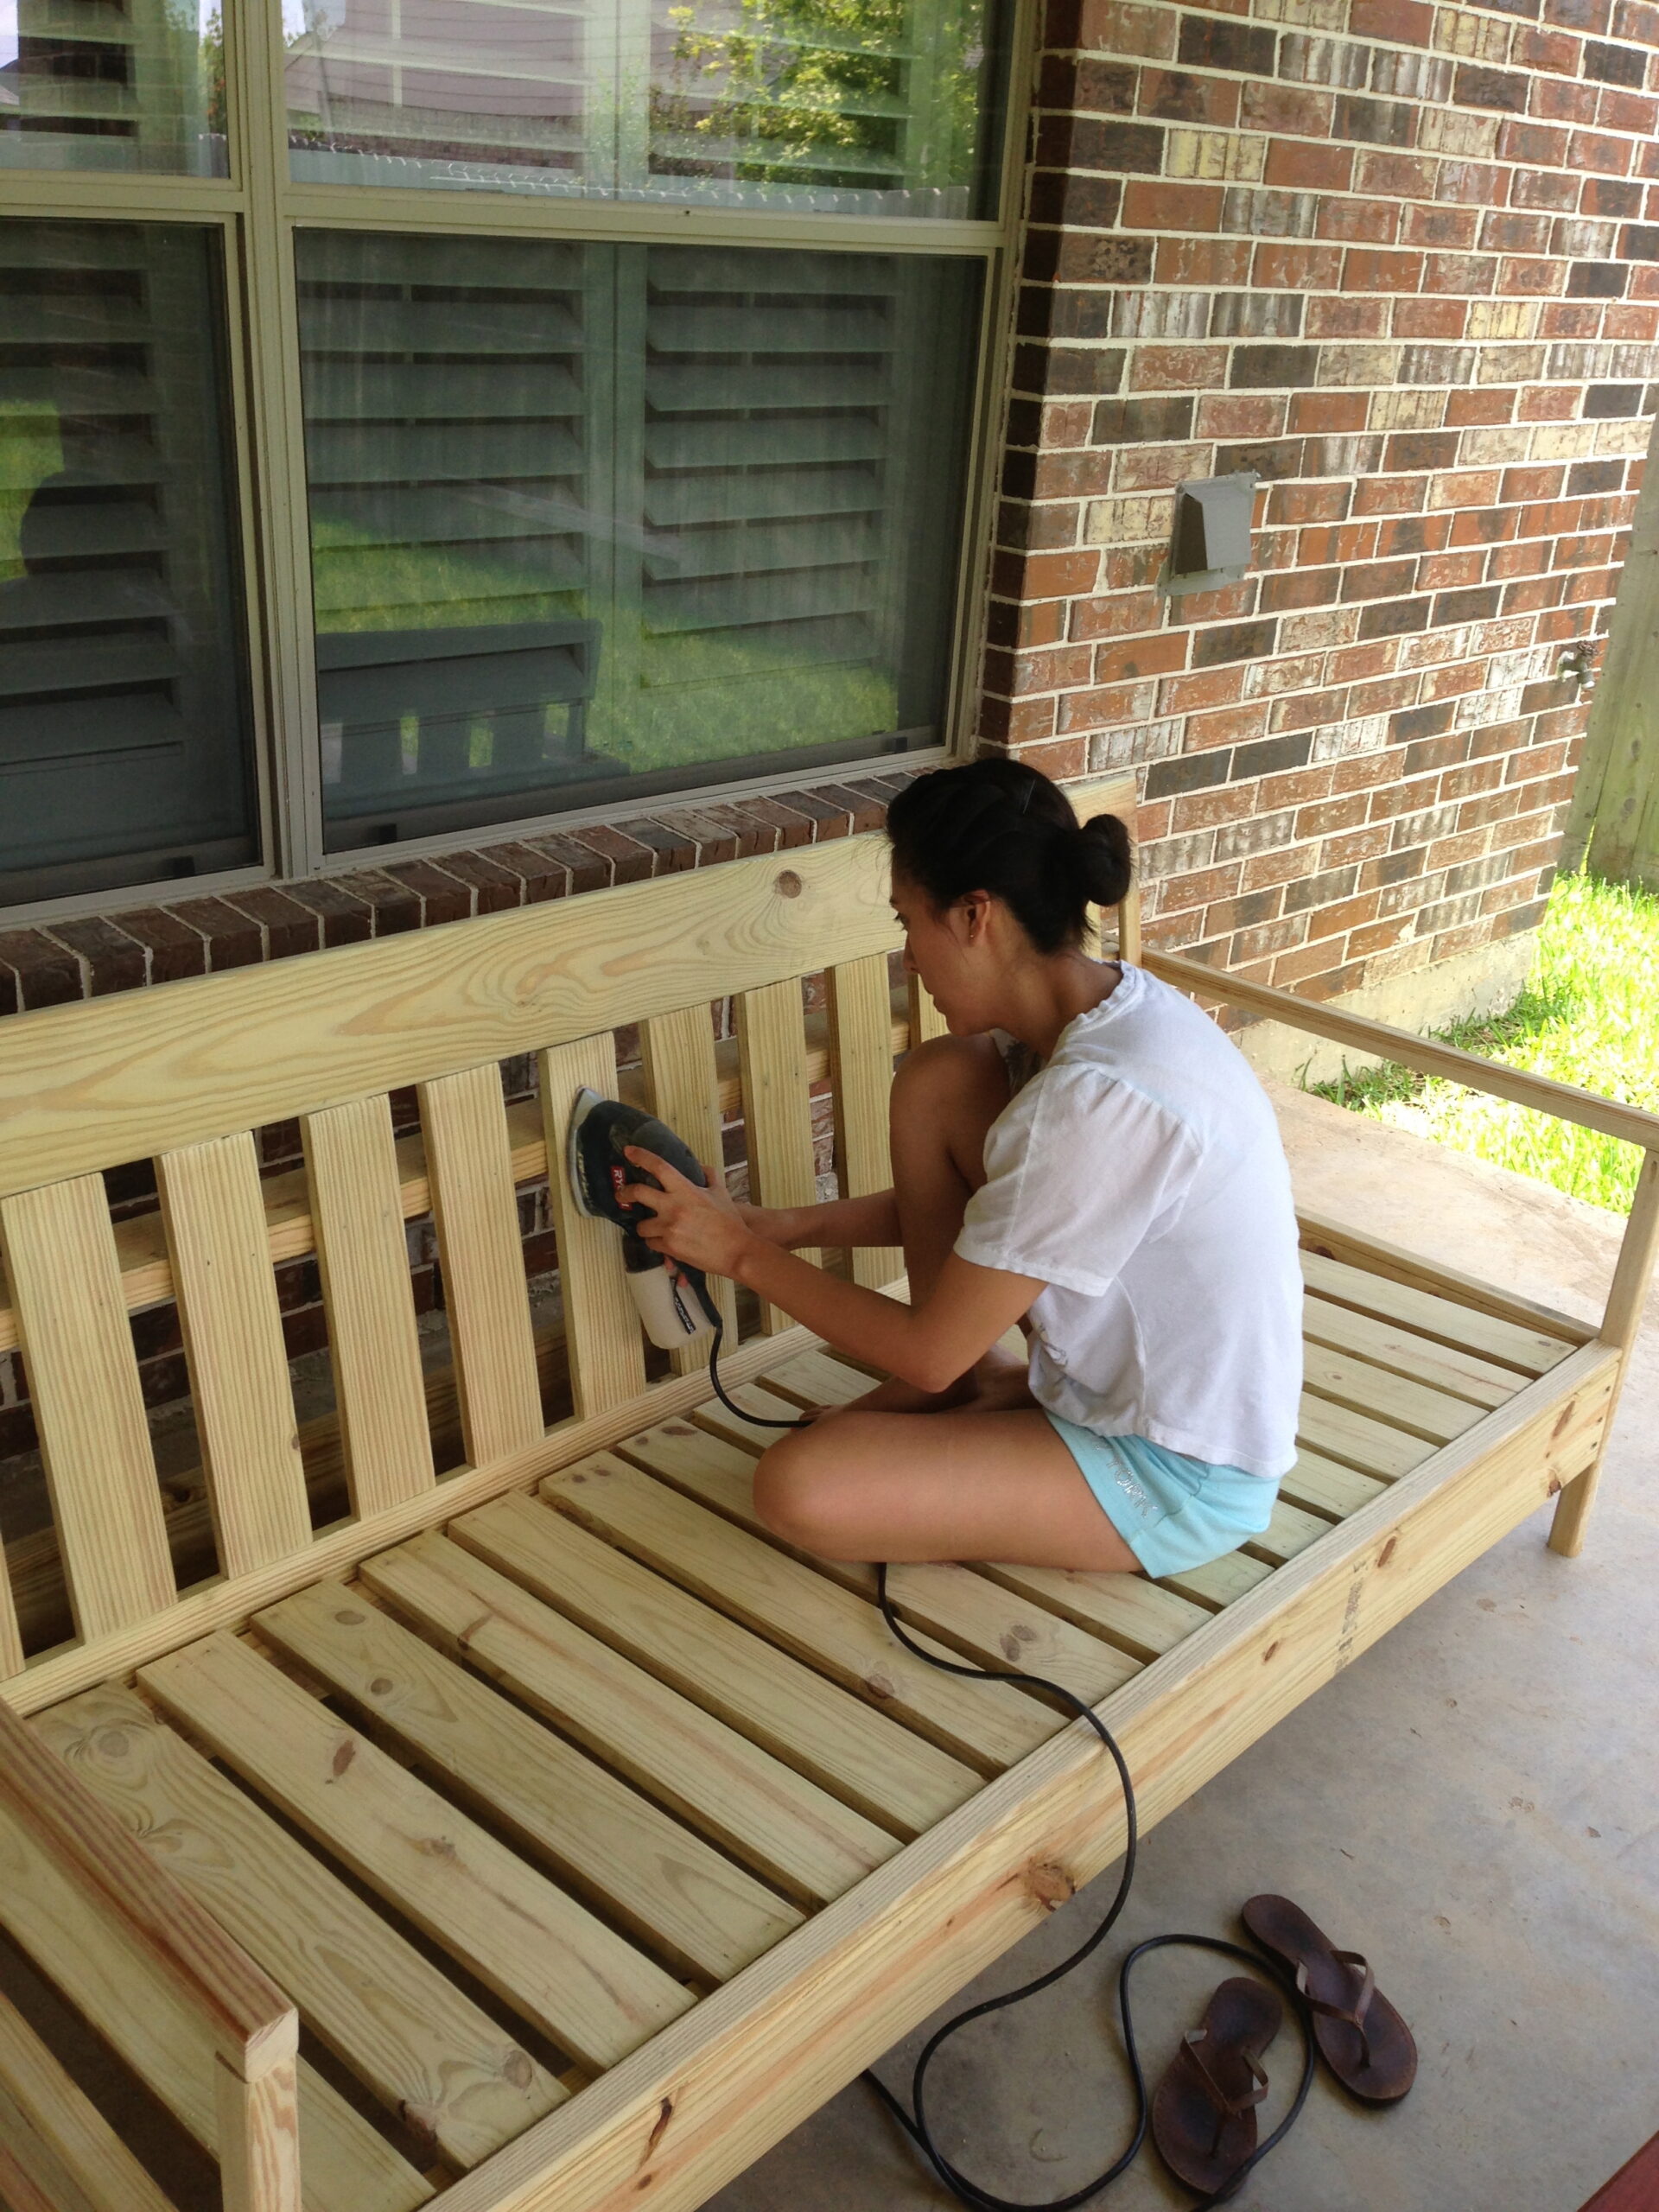
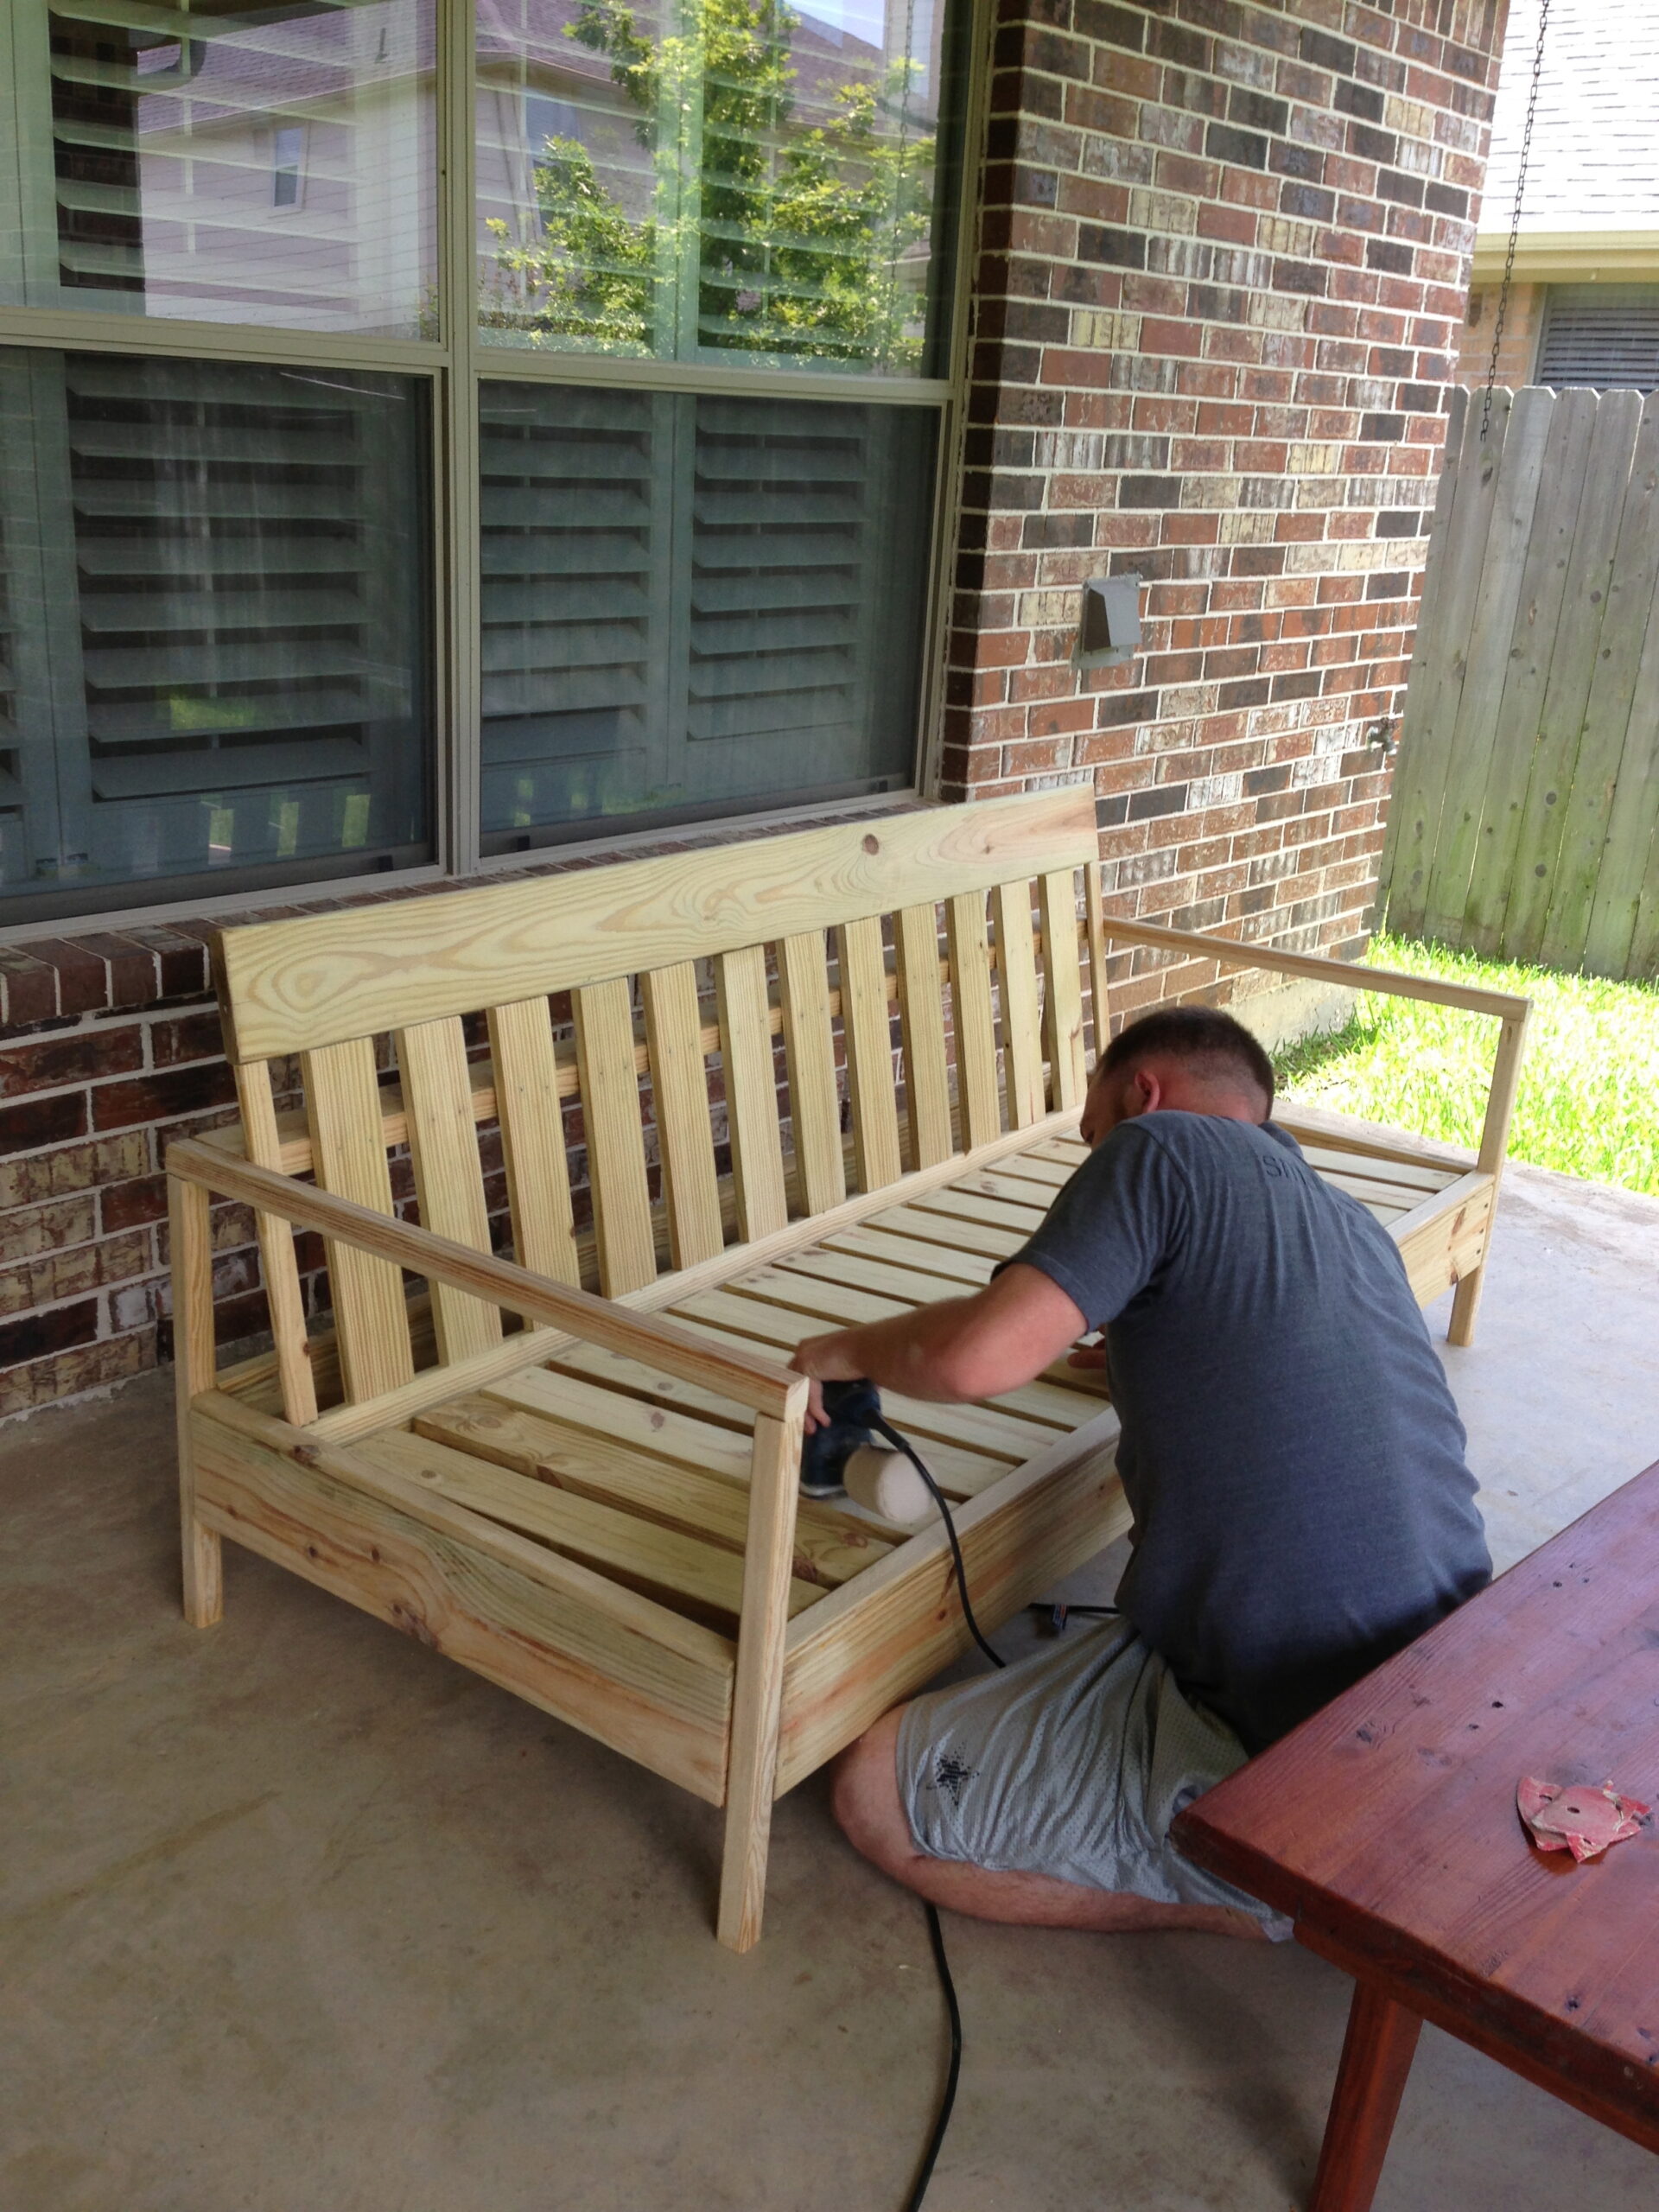
9. Then it was time to sand that baby! Woo hoo…wait we’re not done! Oh, who cares, celebrate and take a small break. Which by the way are crucial if you want to survive eight hours of this. Breaking the project into two days would have been better, but patience is not our strong suit.
10. Paint comes after sanding is complete. Remember to clean and dust the bench first. We chose an oil based white paint because the color popped more and it would last the Texas heat. Plus white is a classic color. Tip: Cover the couch after use, so it doesn’t get dusty. Here is the one we had. 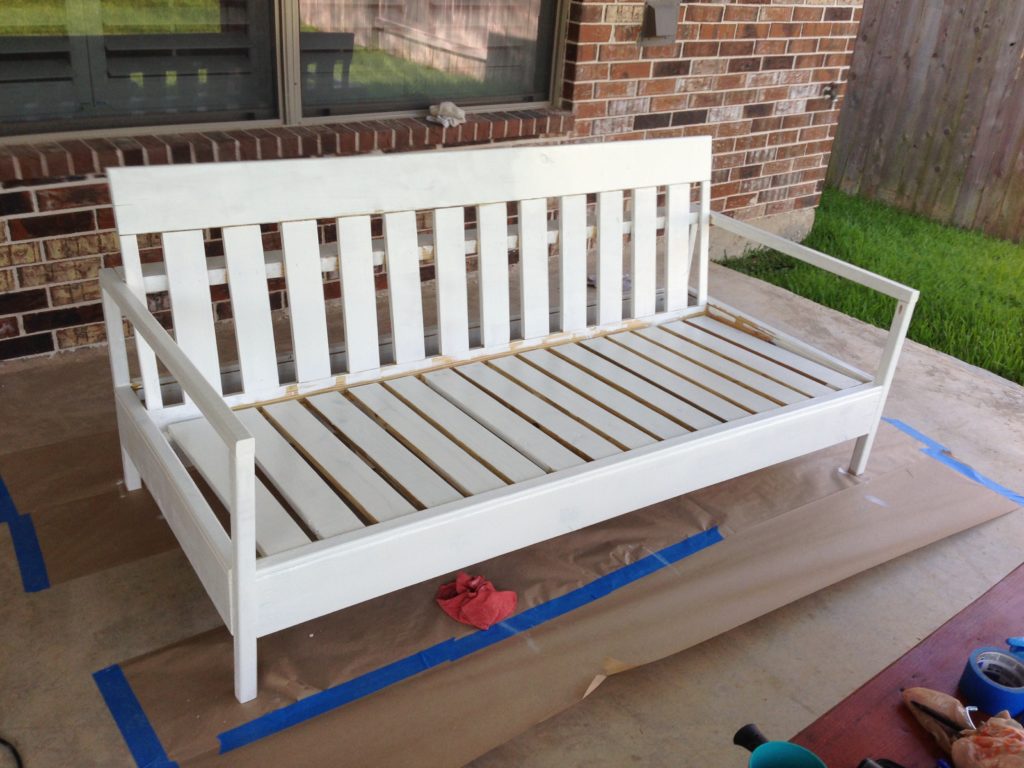
11. After the paint dries, add another coat if it needs it.
12. Once the paint is dry and you’re happy with the paint job, put your cushions on there! We got ours from Lowe’s. Find similar ones here.
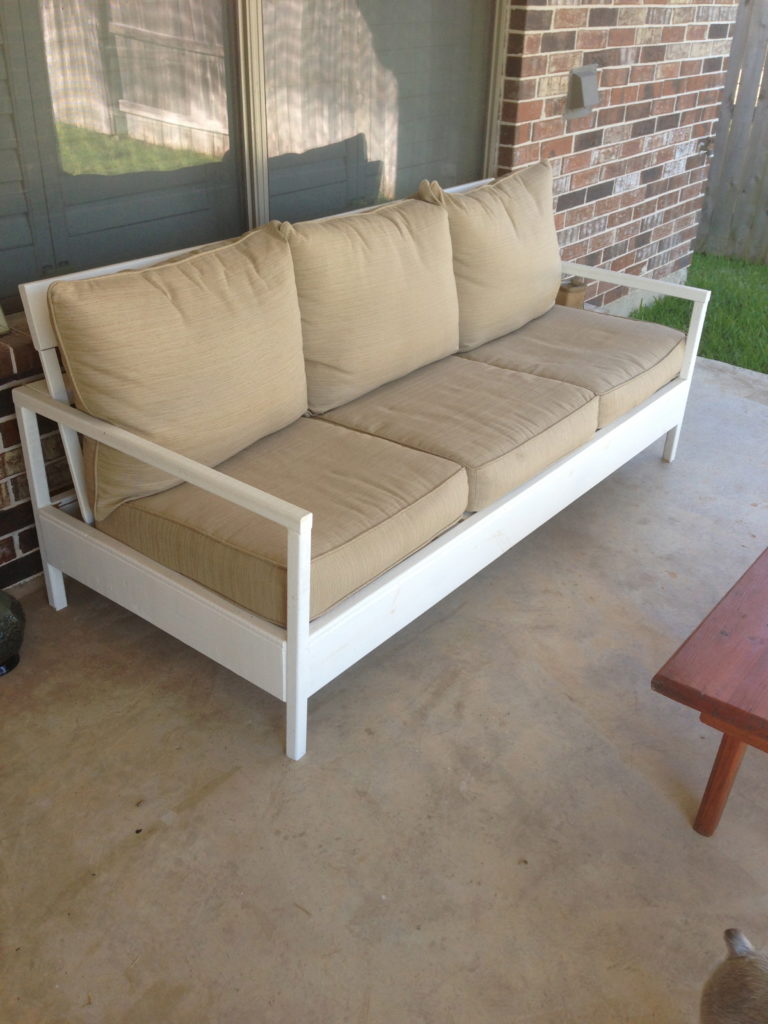
The finished product turned out fantastic, and we built it. WE! I am so proud of us. We passed the handy/DIY test with flying colors. In the beginning, we were starting to doubt if we had taken on more than we could handle because it took longer than expected. But, it was because we are not experts in DYI sofaing :). We were resilient & stayed the course, and I’ll tell you this, it was well worth the results. We got an outdoor sofa, stayed under budget, and it looks beautiful.
Have you built outdoor furniture before? What DIY project are you working on right now? Your stories inspire others so share away in the comments section.
Be sure to save this post on Pinterest so you can come back to it when you’re ready to build your outdoor sofa.
Thank you so much for reading.
With love and gratitude,


Leave a Reply